Below is an example of the settings required when installing SQL Express 2017.
Similar settings would apply for older versions of SQL from version 2008 R2 and newer.
1. Download the version of SQL you wish to use with your AyaNova
2. Download the latest version of SQL Server Management Studio (SSMS)
3. Install your version of SQL, selecting and setting as outlined:
4. Install your SSMS
5. Additional
6. Log in via SSMS
7. Return and continue with your SQL (Server or Express) configuration steps for AyaNova
1. Download the version of SQL you wish to use with your AyaNova.
•In our example, as we want to use SQL Express 2017, we will search for that version to download:
•We go to Google.com
•We enter in the search term Microsoft SQL Express 2017 download
•Select the result that is from Microsoft, and download
2. Download the latest version of SQL Server Management Studio (SSMS)
•In our example, as we want to use the latest SQL Server Management Studio, we will search for the latest:
•Go to Google.com
•Enter in the search term Microsoft latest ssms
•Select the result that is from Microsoft, and download
3. Install your version of SQL, selecting and setting as outlined:
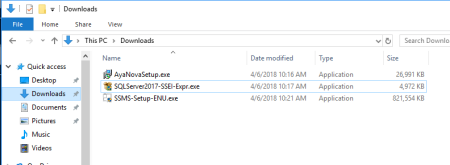
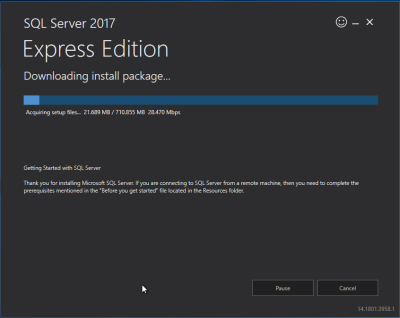
a. In our example, we run the file we downloaded for installing SQL Express 2017.
•In our example, the file was called SQLServer2017-SSEI-Expr.exe
•You may receive the message similar to below, select Yes to continue
o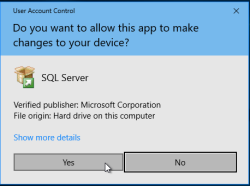
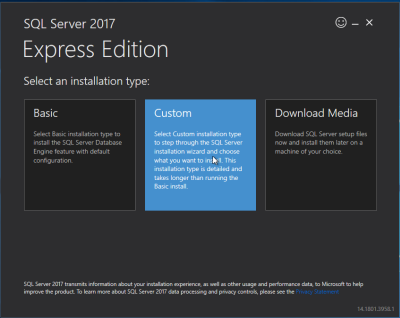
b. As you will need to make specific settings, select Custom
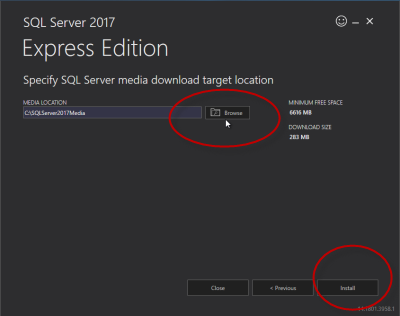
c. Accept to download to the stated location or change if need to. Than select Install.
d. The download and initial install will begin
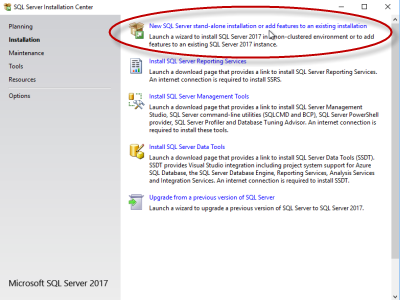
e. Select New SQL Server stand-alone installation
f. Accept the license terms. Next.

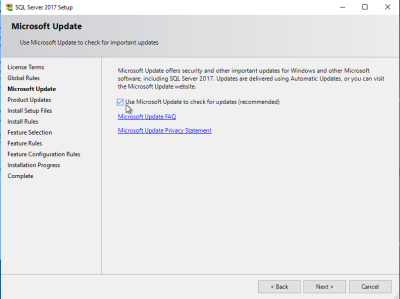
g. Allow to check for updates. Next.
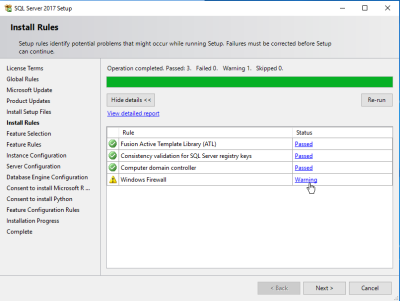
h. Address any issues found. Next.
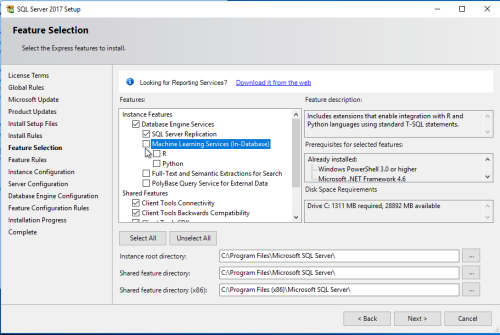
i. At the "Feature Selection" page:
Deselect:
•Machine Learning Services
•Full-Text and Semantic Extractions for Search
Ensure selected:
•Database Engine Services
•SQL Server Replication
•Client Tools (all)
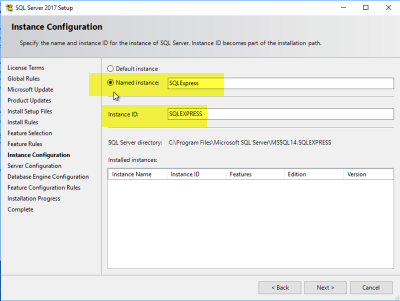
j. In the "Instance Configuration" page, we took the suggested specified SQLExpress in both the "Named instance" and "Instance ID" fields.
We want to have a named instance of our SQL so that we are connecting not just to the host, but to the named instance.
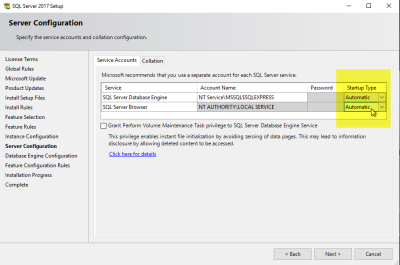
k. At the "Server Configuration" page all Startup Type are set to Automatic
l. On the Database Engine Configuration page, enable Mixed Mode; enter and confirm a password for the Built in SQL server system administration account (note this is the user account sa);
Do NOT use special characters in your sa password. Although SQL Server Management Studio and SQL itself will accept creating passwords with special characters (such as # % $ etc), SQL will not accept when used in a connection string when you get to the step of editing your AyaNova config.txt file.
Optionally add a user as an administrator. Next.

m. Installation with those settings will now proceed.
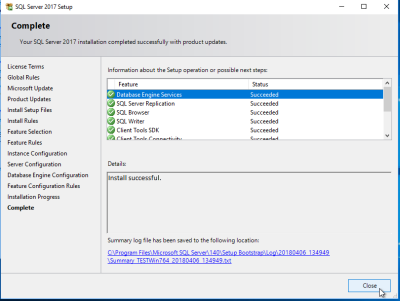
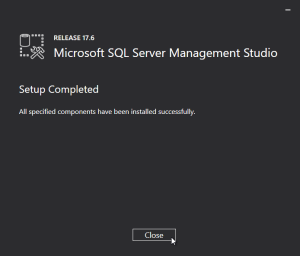
n. Confirm all aspects installed successfully. Close.
4. Install your SSMS
a. Run the file you downloaded for installing your SSMS
•In our example, our file was called SSMS-Setup-ENU.exe
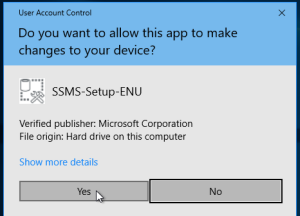
•You may receive the message similar to below, select Yes to continue
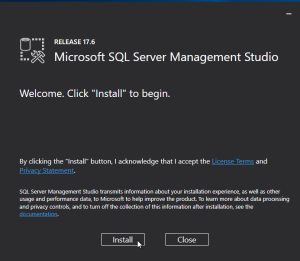
b. Install
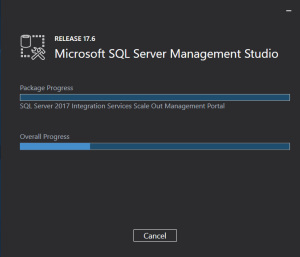
c. Allow the installation to complete
d. Close when completed
5. Additional
a. Where you confirm remote connections are enabled depends on your version.
For example with SQL 2017 and SSMS 17.6
i.Log into your SSMS as sa and the password you set above
ii.Right-click on your server, select Properties
iii.Click the Connections mode
iv.Under Remote Server Connections, ensure Allow remote connections to this server is checkmarked.
b. Confirm protocols are enabled
i.Open your Microsoft SQL Configuation Manager
o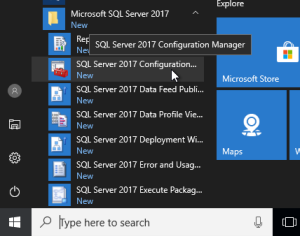
ii.Allow changes
o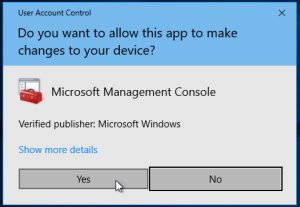
iii.Enable the TCPIP protocol
o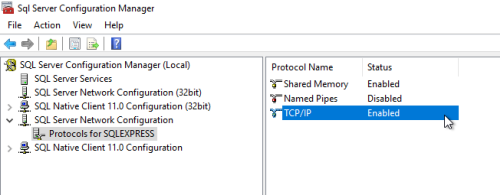
iv.Confirm IP Addresses are active
o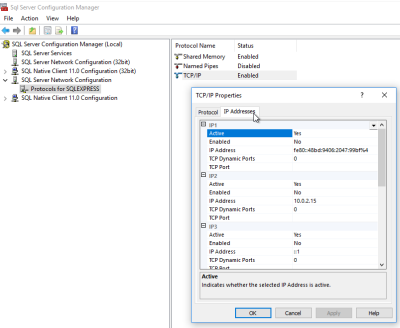
v.If troubleshooting needed for port exceptions, here is where you can find the port used
o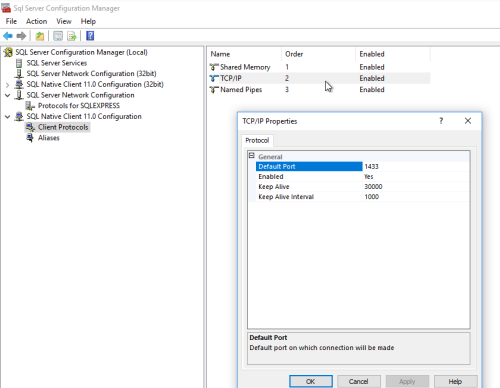
c. Restart your server.
d. Log in as the computer administrator
e. Confirm your SQL services have successfully started and are running.
If your SQL services are not successfully running, you WILL receive errors attempting to run SSMS or load your AyaNova.
i.Bring up Services
o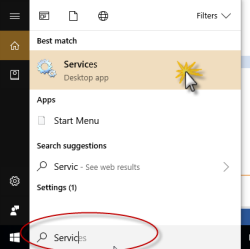
ii.Scroll down and confirm your SQL services are running.
o
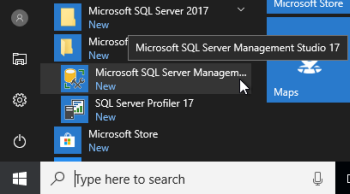
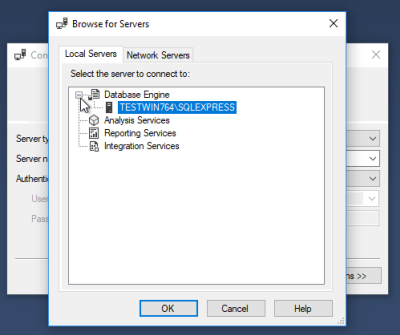
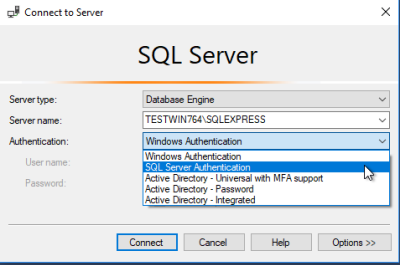
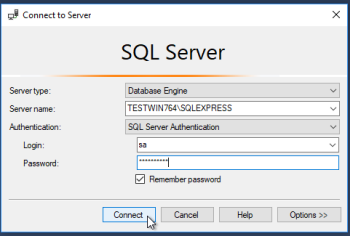
6. Log in via SSMS
a. Run your SQL Server Management Studio
b. Connect to your SQL database server

c. Log in using SQL Authentication (using the sa password you set in the SQL installation earlier)
c. Now that you have confirmed can load, exit out of your SSMS.
7. Return to the Network SQL Express configuration or Network SQL Server configuration for AyaNova and continue with step 4
Now you can continue with your Network SQL configuration, following the steps to create your SQL AyaNova database and completing your AyaNova configuration settings to connect to your SQL AyaNova database