In this tutorial example, we will edit an existing sample report template so that it displays additional fields of data.
For this tutorial, we want that in the Sample Dispatching Report we want the Other Contacts text from from the Client's entry screen to show, and we want to force the Price to always display in US dollars regardless of the regional settings of the computer in use.
•It is recommended that you review the Report Templates Help section before proceeding for an overview of the Report Designer.
•It is suggested that you open up the existing sample report templates that come with AyaNova to see how they are designed, as well as check out the answers to questions about report template design in the AyaNova Support Forum and additional sample report templates there that you can download, use as is or customize further
1.Confirm there is text in the Other Contacts field in the Client's entry screen (so it can show on a report template)
a. View the client's entry screen by selecting the Client jump button within the service workorder entry screen
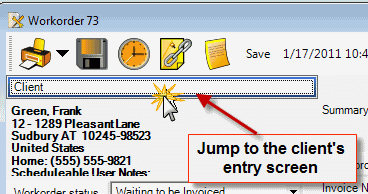
b. View the Other Contacts field in the client's entry screen - make sure there is text in it.
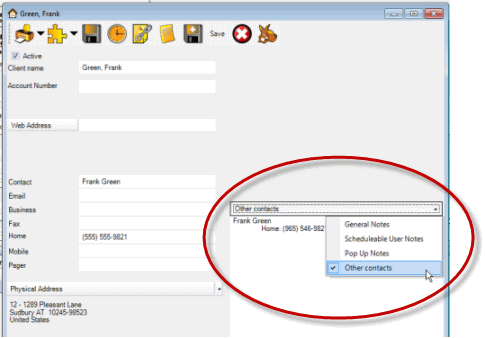
c. If entered any text in that client's entry screen, don't forget to Save & Exit which will return you to the service workorder entry screen
2.Now open the report template you customized in the previous tutorial the copy of the the Sample AyaNovaLite Dispatching Report - via the Report Designer (hold the SHIFT key and select the report template via the Print menu option)
3.In this tutorial, we want to have the Other Contacts field from the Client entry screen display under the Schedulable User Notes on the report.
a.First we need to make more space in the WorkorderHeader detail area so that we can place the Other Contacts datafield
b. Adjust the height of the WorkorderHeader detail area by clicking and dragging on the bands - you will note that your mouse changes as you click and drag
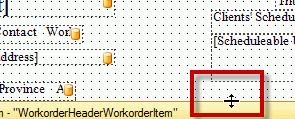
c.Now that we have space, we will drag the Other Contacts datafield onto the design panel where we want to place it.
d.Select the Fields tab and expand the WorkorderHeader dataset.
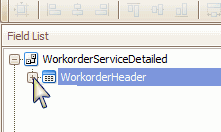
e.Scroll down, drag the Other Contacts datafield onto the design panel where you want to place it

f.Resize the datafield so that it is wider fits under the Scheduled User Notes
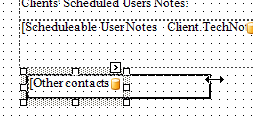
g.Preview so that you can now see how this field looks in the report
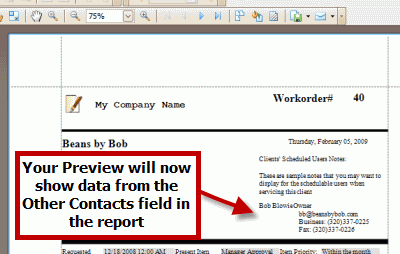
h.Return to the design panel
4.In this tutorial, we want to add the Description field text to display in the part section of the report in case we have entered additional text there.
a.First we add a cell column into the existing table by:
•clicking on the table cell xrTableCell48
•right-click and select Insert -> Column to the right.
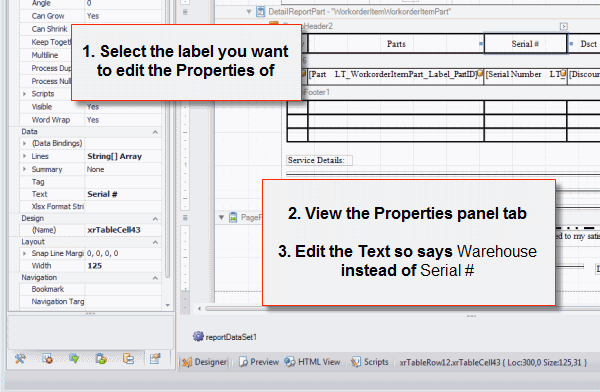
b. Now we need to bind to the Description datafield
•click on the new cell just created to select it
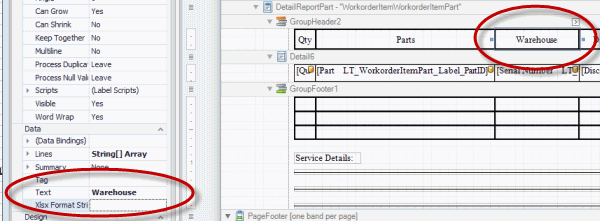
•now view the Properties tab on the left
•expand the (Data Bindings) property, and the Text Binding property
•drop down the selection
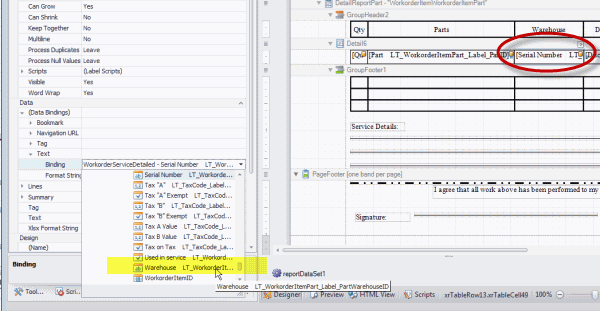
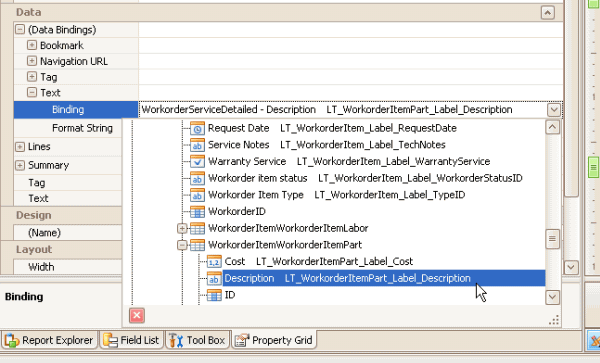
•expand the WorkorderHeader, expand the WorkorderHeaderWorkorderItem, expand the WorkorderItemWorkorderItemPart dataset and select the Description datafield in the WorkorderItemWorkorderItemPart dataset (you might want to change the width of the Properties tab so that you can fully see the datasets as they expand)
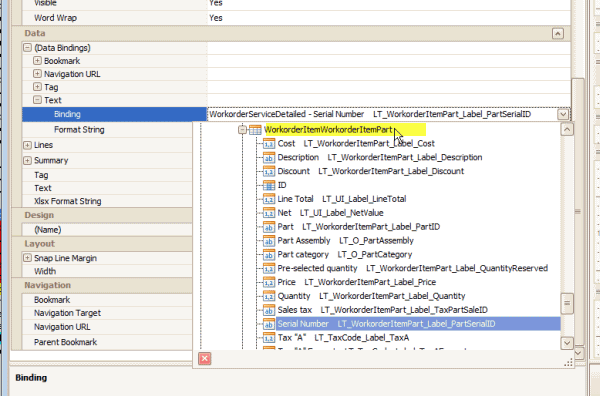
•If you Preview now, you will see that the part section of the report will now display the text of the Description field if entered in any of your service workorders where parts have been selected.
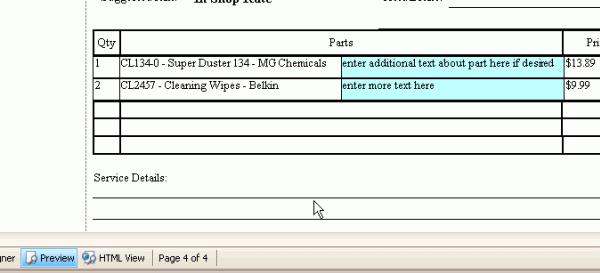
c. Now you would want to change the background color of this newly added control
•with this control field still selected, view its Properties tab
•edit the Background Color property selecting Transparent
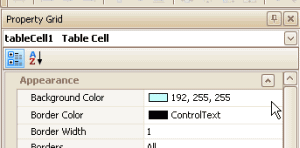
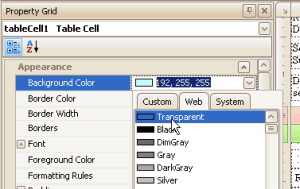
•you will see that the cell now is no longer blue
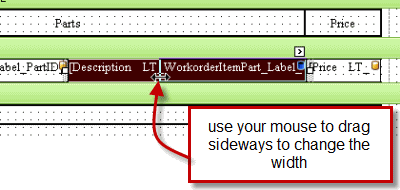
d. And you might want to change the width of this control field. Use your mouse to drag sideways.
5.Now we want to check and see what the Price datafield is formated for showing.
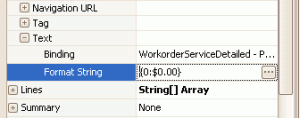
a.Select the Price datafield, view the Properties tab for it, and expand the (DataBindings) property -> Text -> Format String

b.Right now the Format String is using the string {0:c} which tells the report template to use your computer's Regional settings to display the currency symbol
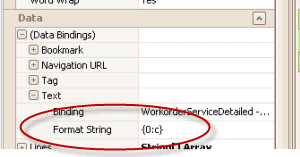
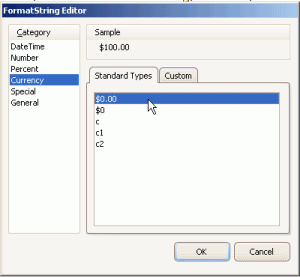
c.In this tutorial, we want it to be forced to always show as $ regardless of the regional settings of the computer accessing the data, so we click on it to bring up the FormatString editor and select $0.00
d.Preview so that you can see the results of the changes you have made
6.Save and exit out of the report template