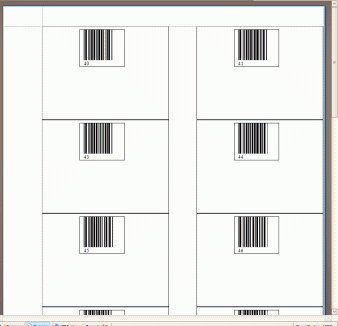
In this tutorial example, we will create a new report template that makes use of Barcodes
•It is recommended that you review the Report Templates Help section before proceeding for an overview of the Report Designer.
•There is not an option to use the internal report designer’s Wizard to create a report template for Detailed datasets such as a Detailed report template for Workorders because the Wizard is not able to access the many sub-sets of data that a workorder have.
•We recommend that you open up the existing sample report templates that come with AyaNova to see how they are designed, as well as check out the answers to questions about report template design in the AyaNova Support Forum and additional sample report templates there that you can download, use as is or customize further
•NOTE: Due to the large number of different types of barcodes, as well as barcode hardware, we have not tested this feature with every barcode or barcode device. We provide the following tutorial as a tutorial only, consult your barcode reader vendor and documentation for exact settings to use.
1.Select the Service Workorders grid within the Service navigation pane
2.Select the New Summary report template from the Print drop down menu
3.Enter in a report name of Workorder Number Barcode Labels
4.Within the report designer, select the Design in Report Wizard, select Avery Standard, select 12-295 Laser tags – White, select Finish
a)Refer to the previous tutorial on creating a Label report template if needed.
5.Select the Toolbox tab, select BarCode control field, and drag onto the design
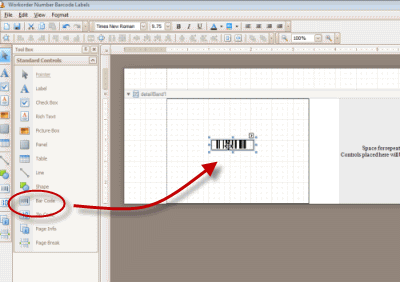
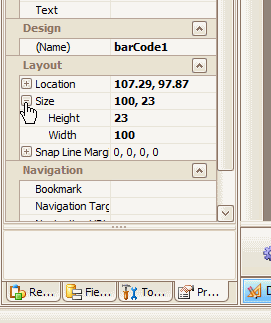
6.Adjust the barcode control size and height and location. You can use your mouse to drag and resize, or edit the Properties for Size and Location layout.
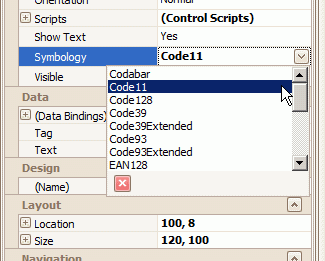
7.The basic properties of the barcode need to be set to specify its type and look.
i.You must specify the BarCode.Symbology property (codetype) which returns an object that corresponds to the particular barcode's symbology type and contains all the properties required by this type.
ii.If needed, also set the BarCode.Module and BarCode.Padding properties to change a barcode's appearance.
8.In this tutorial, we will select the Symbology property of Code11, refer to your barcode scanner and vendor for the proper symbology supported by your equipment and needs
9.Now we will bind the data field for the workorder number to this barcode control
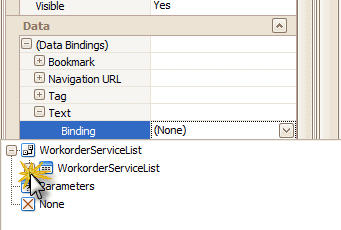
iii.With the barcode on the panel still selected, expand the DataBinding property field -> expand the Text property field under the DataBinding field
iv.Drop down the selection for the Binding field
v.Expand the WorkorderServiceList
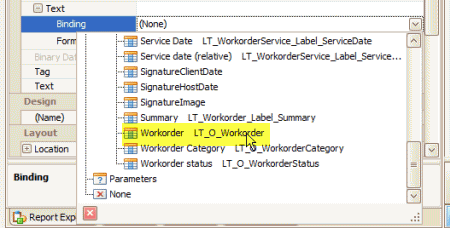
vi.Scroll down and select the Workorder datafield
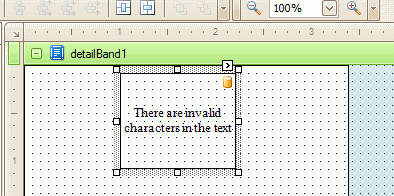
10. Note the barcode on the panel may show "there are invalid characters in the text" - if you click on Preview you will see it actually displays the barcode with the workorder number or not.
11.We will now also drag onto the design panel the additional data control fields such as the Client, Workorder Status, and Summary – and resize them so useful.
12.Select the Preview link to preview what the report will look like at this point.
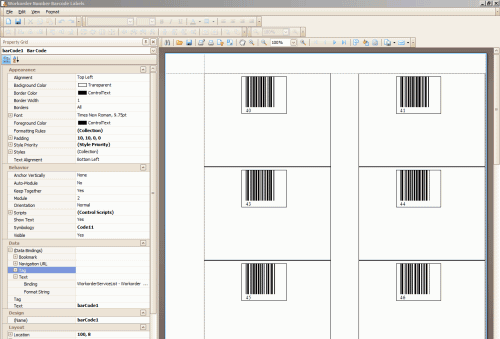
13. Drag and drop datafields and edit as desired.
14. Close and save the report
When previewing, if instead of a barcode there is a message, that would indicate you need to adjust depending on the message.
Errors that can occur with barcodes in reports
When adjusting a barcode some errors can occur due to incorrect parameters being specified. For instance, if a barcode control is too small to represent the barcode type specified, the following error message will be shown in place of the barcode.

If there any characters in the barcode's text that are not allowed by this barcode type, then the following exception will be shown. NOTE: It is suggested to check Preview first though, as it may just be cosmetic. 
Also, it's necessary to ensure that the text characters meet the text format rules required by the barcode's type. When these characters do not satisfy the required text formatting then the following message will be shown.
