A workorder summary is displayed when you mouse over a workorder item in the Schedule screen and will display within the schedule as space permits
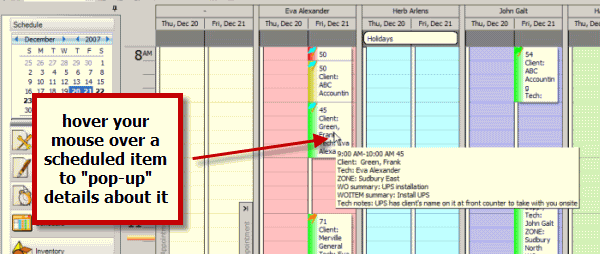
•You can edit what displays in this area via the Global Settings under the Administration navigation pane Workorder Item Summary Template tags section.
•In the above screenshot, the Workorder Item Summary popup for the Schedule screen presently displays:
start and stop time workorder number
Client: client's name
Tech: scheduled user
ZONE: dispatch zone
WO summary: workorder summary
WOITEM summary: workorder item summary
Tech notes: service notes
•NOTE: the start and stop time displays by default where appropriate.
An example of how to edit what pops up:
1. Hover your mouse over a scheduled workorder item in the Schedule screen so that you can see what is presently displaying.
2. Now let’s edit the template for the workorder item summary so it displays differently.
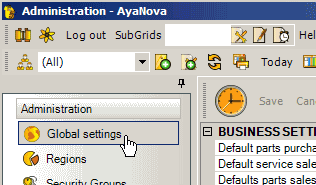
•Move to the Administration pane by clicking on the Administration icon on the navigation pane, and select Global Settings
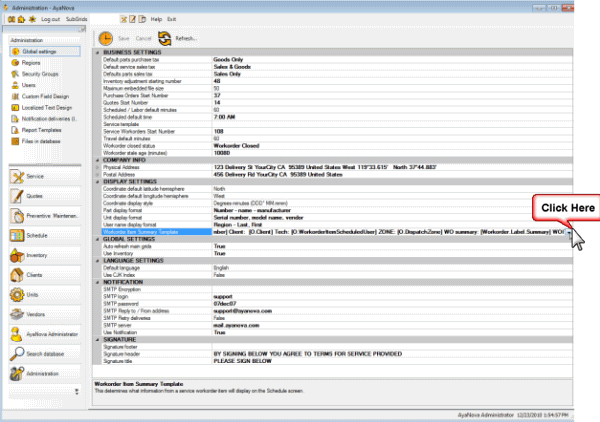
3. Within the Global Settings screen on the right, select the Workorder Item Summary Template Editor drop down selection button
4. The Template Editor screen drops down
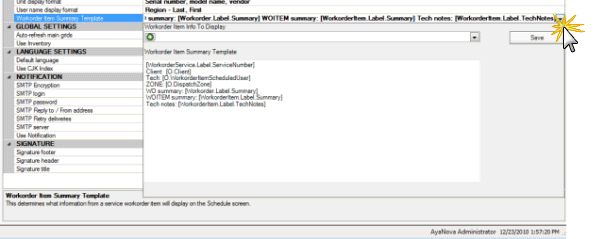
5. Highlight the existing text in the Workorder Item Summary Template design field and delete so you can start from scratch.
6. Any text will display as entered. Any tags selected from the "workorder item info to display" list will be substituted automatically on display.
NOTE: There is a maximum of 500 characters (including spaces and returns) that can be entered in this field.
7. Click within the template design field and type Client: and a space
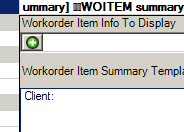
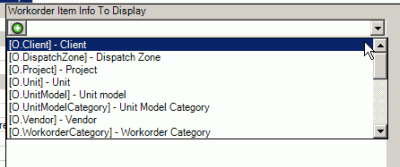
8. Select the Workorder Item Info To Display drop down selection and select the tag [O.Client] - Client (any info in the [ ] brackets is internal for AyaNova to understand what it is you are selecting)

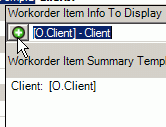
9. Click on the Add button to the left to add this selection into the template design field and see how it adds that datafield into the template

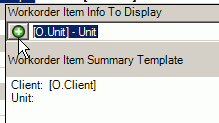
10. In the template section press the Enter key on your keyboard so that you move to the next line, and type on the next lines Unit: and then drop down the list of tags again and select the [O.Unit] - Unit and add it so that it is listed after your text

11. Click on Save button to close and save the Template Editor

12. Tab off the field you were editing, and then click on the Save button on the Global Settings menu toolbar
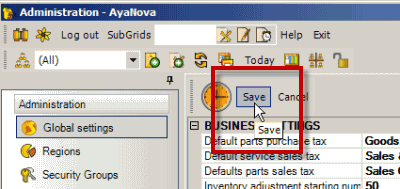
13. Exit out of AyaNova, and log back in (when making a change in Global Settings, you need to save and exit completely and log back in for the change to take effect for you).
14. Now lets take a look at what the new Workorder Summary looks like from the Schedule screen
•Move to the Schedule screen
•Select to Refresh ![]() so that any changes made are shown
so that any changes made are shown
•Hover your mouse over the same workorder item that you did previously
•You will see that it now will display as you have designed - in this example, just the client and the unit.
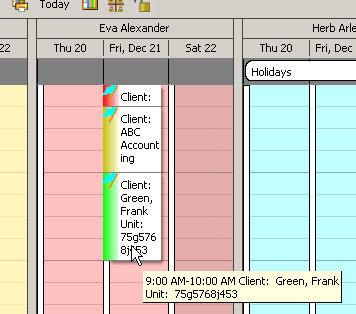
We encourage you to edit the Workorder Summary Template to display what is needed on the available datafields.
The default Workorder Summary Template is (in case you want to copy, paste, save, to go back to what it was originally)
[WorkorderService.Label.ServiceNumber]
Client: [O.Client]
Tech: [O.WorkorderItemScheduledUser]
ZONE: [O.DispatchZone]
WO summary: [Workorder.Label.Summary]
WOITEM summary: [WorkorderItem.Label.Summary]
Tech notes: [WorkorderItem.Label.TechNotes]