1. Example of how to select and edit the date in a date/time field
2. Example of how to select and edit time in a date/time field
A. To select a date, select the drop down arrow to open the date window

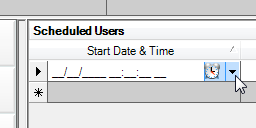
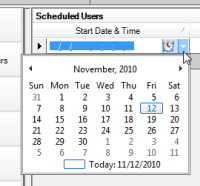
B. Click on a date
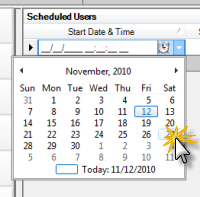
•Use the side arrows to move to different months
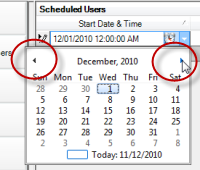
•Click on the month and year to select a different year or month.
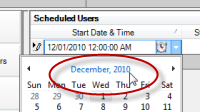
C. When you click on a date, it closes the date selection and returns you to the field with the time defaulting to 12:00 AM
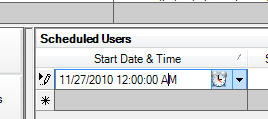
D. You can also manually edit the date by highlighting and typing the number from your keyboard.


A. To edit the time, click on the clock and select one of the time selections


B. You can also manually edit the time by highlight, and type in the scheduled time including pm or am and then tab off.
For example, in these screen shots, we want to scheduled the start time for 1:45 PM.
Our time display includes showing for seconds, so we would type in “14500pm” and tab off. There is no need to type the colon or spaces as your operating system in this instance is set to use PM and AM, and therefore “knows” that there is not a time that would be 14:50PM. If the scheduled time was instead to be 1:00 PM, you would in this instance type in “0100pm”. Otherwise typing in “100pm” it would assume you meant 10:00PM.
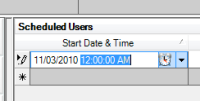


•Also note too that you can click within the date time field, and use your keyboard left or right arrow keys to be in the hour, or minute or second to am/pm part of the time, and then use your up or down arrow keys to increment or decrement.
AyaNova will use your Regional Settings for Time format – if your time format is set to use 24 Hour, time will display in the AyaNova program and reports by default also as 24 Hour. If your time format is set to show seconds, then AyaNova will show seconds too
See also: