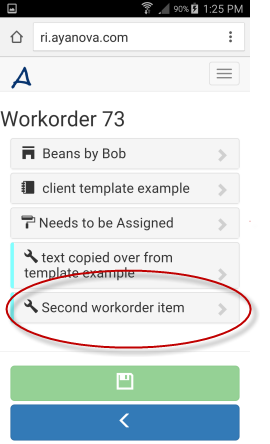
•Tutorial displays example screenshots from a small screen device
•Tutorial is based on expectation that user logged in has rights to view and edit service workorder records.
•Although these tutorials are based on sample data in the sample AyaNova database, you can certainly follow similar steps using your own data.
A service workorder can have one or more workorder items.
In this tutorial example we will walk through how to create an additional workorder item for a service workorder via RI.
For example, while at a client's site you might determine service is also needed for a different unit and you have the time to do it now rather than scheduling for a future date.
By creating a second workorder item in the same workorder, you separate the service, being able to select the other specific unit in the additional workorder item that is created.
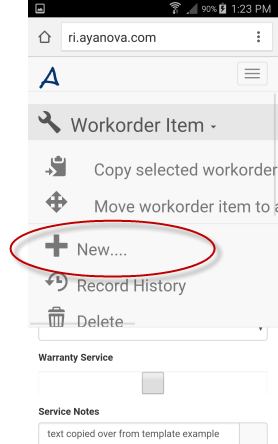
To create an additional workorder item in a service workorder, you would do so by selecting the +New... from an existing workorder item menu option for that workorder.
Just like the same steps you would follow when creating a new client - you do so by selecting +New... from the menu of an existing client.
Just like the same steps you would follow when creating a new unit - you do so by selecting +New... from the menu of an existing unit.
Just like the same steps you would follow when creating a new part - you do so by selecting +New... from the menu of an existing part.
1. We will assume that you have logged in via your RI as a user that has rights to view and edit service workorder records.
2. Open an existing service workorder to its form. In our example, we will view service workorder 73.
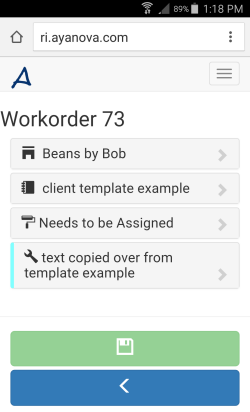
Note that an additional workorder item can be added at any point - whether having just created a new service workorder or for an existing service workorder.
3. Now to create a new workorder item we need to be viewing the existing workorder item so we can reach its menu _New...
3.a Select to expand the workorder item section
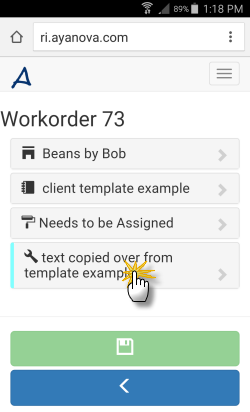
3.b Now you can see the details of the workorder item, as well as the sections for Scheduled Users, Tasks, Parts, etc.
Select on the workorder item display
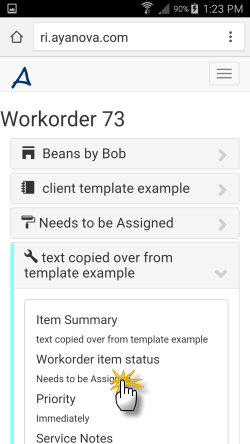
3.c By selecting, you will now be viewing that workorder item form. Select the workorder item menu for this workorder item.
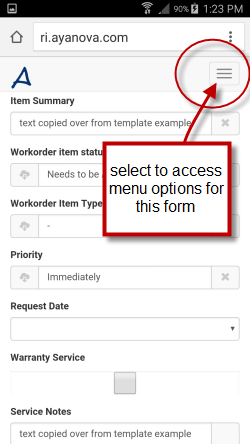
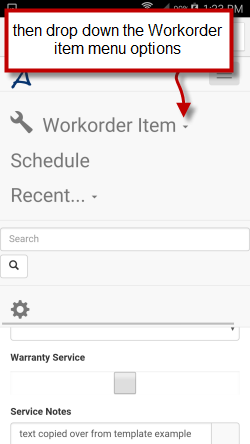
3.c Select +New...
3.d A newly created empty workorder item page now displays.
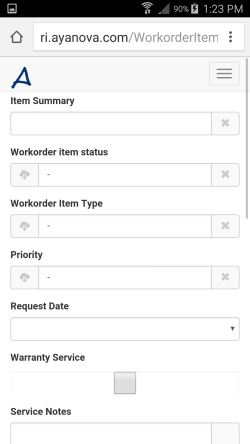
4. Enter in details for this newly created workorder item. Save.
![]()
5. Back which will return you to the previous workorder item page
![]()
6. Back again, which will return you to the service workorder page where you can now see there are two workorder items - the original plus the one you just created!
