Generate a schedule marker from an Outlook email
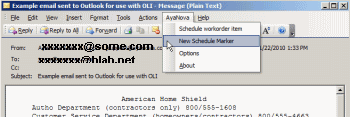
1. Open the Outlook email message
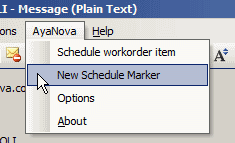
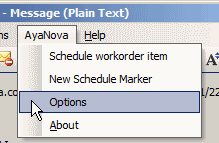
2. Select the email message menu AyaNova -> New Schedule Marker
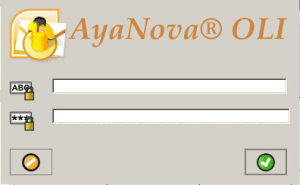
3. If you have not yet been asked to log in via OLI (as have not selected any other menu option since running this session of Outlook), than the OLI login window will appear.
Log in as an AyaNova user that is a member of a security group that has rights to create a Schedule Marker.
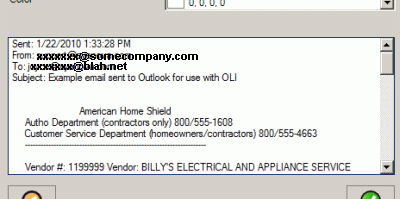
4. An AyaNova Schedule Marker window will appear with the text from the Outlook email message in its Notes: field .
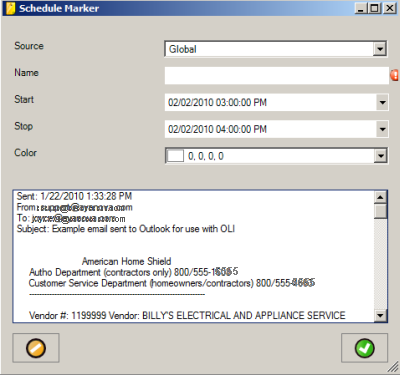
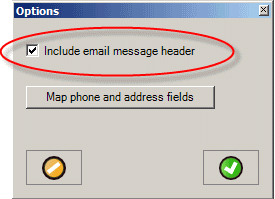
NOTE: if you want the message header information to be appended into the Notes, make sure you have check-marked the Include email message header in the Options.
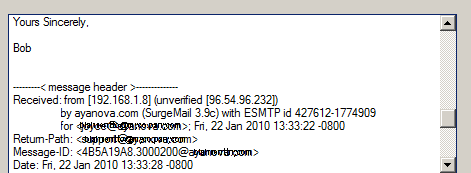
example of message header in Notes area.
5. Edit the Schedule Marker as needed:
You will want to review the Schedule Marker section of this Help documentation for an overview of how Schedule Markers are used in the AyaNova Schedule screen.
a. Source: Select whether this is to be a Schedule Marker for all schedulable users (Global); for all schedulable users of a specific region; for a specific schedulable user; for schedulable users of a specific Dispatch Zone; for schedulable users of a specific Schedulable User Group.
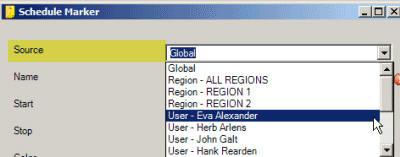
b. Name: Enter in sort text that will be descriptive of what this schedule marker is for.
![]()
c. Start: and Stop: Edit the Start and Stop date and time as needed. By default the Start will be the closest next hour (i.e. if it is 2:37PM right now, will default to 3:00PM when you create)
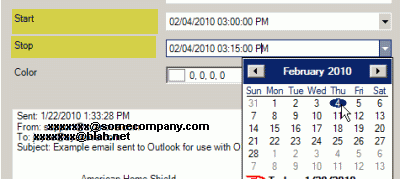
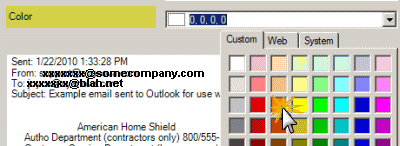
d. Color: This is where you select what color you want the schedule marker to display as in the Schedule screen. You can leave this blank for none.
e. Notes:
6. Select the OK button ![]() to create the Schedule Marker in AyaNova
to create the Schedule Marker in AyaNova
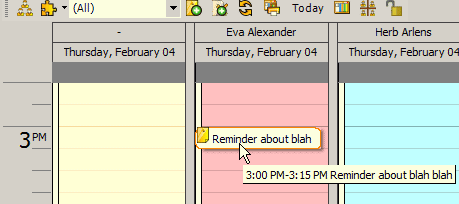
7. Your Schedule Marker will now be available in AyaNova
NOTE: If you want the email message header to be inserted in the Schedule Marker body, make sure that your Options for this is checkmarked.
example of message header in Notes area.