If using the Signature capture feature of the remote options RI (Responsive interface), WBI (web browser interface) and/or MBI (minimal browser interface), you may want to display the customer's signature on a report that is given to the customer.
As the signature is saved as a special image linked to that service workorder, we can embed that datafield into a report template!
If have just installed AyaNova 7, the sample report template Sample Detailed Service Workorder with Grand Total and Signature is available that you can further customize and refer to.
And also in this tutorial example, we will make a copy of an existing sample report Sample Dispatching Report, and customize it to display the Signature image and Signature date if available - so that you can see how to do so for any other report templates.
1. Open a workorder entry screen that you know you has been signed through WBI or MBI (i.e. print preview the Sample Detailed Service Workorder with Grand Total and Signature)
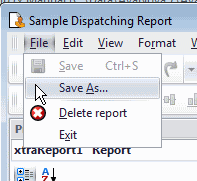
2. Hold down the SHIFT key and select the Sample Dispatching Report template to open it in the Report Template Designer
3. It is recommended to always make a copy of an existing sample report template if will be customizing it - this way you can always go back to the original if need be.

4. You can place the Signature image datafield to show in any area of the report template except for those that do not show data, such as the PageFooter.
In our example, we will place in the ReportFooter for each workorder reported on
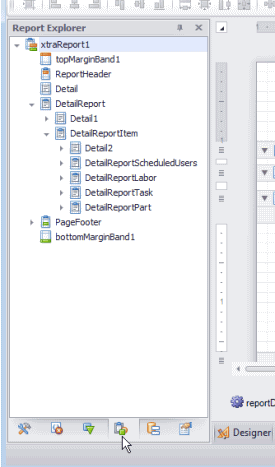
If we take a look at the Report Explorer panel tab and expand the existing bands, we see that there is no existing ReportFooter for this report template
5. In the report designer panel, right-click on the WorkorderHeaderWorkorderItem band and select Insert Band -> ReportFooter
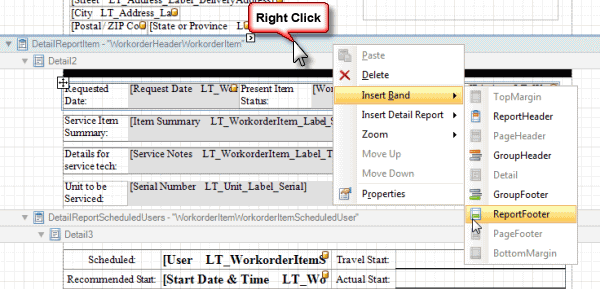
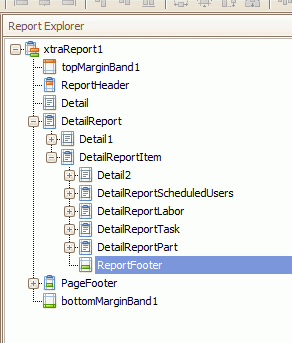
6. ReportFooter band will be added - also now shows in the Report Explorer tab
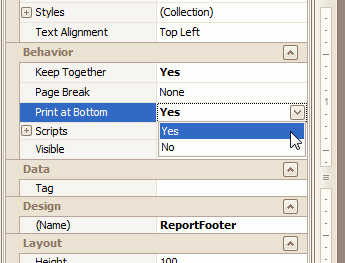
7. Set the Keep Together property to Yes (so that if page break happens, all fields in that ReportFooter stay together, and set the Print at Bottom property to Yes (so that it always prints all fields in the ReportFooter at the bottom of the page)
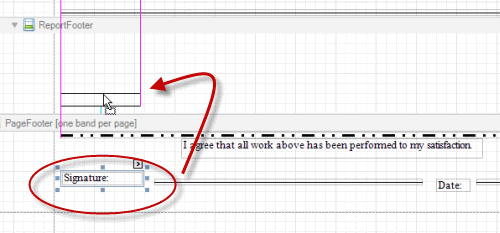
8. We're going to move the labels out of the pagefooter, and just use the ReportFooter in this example
So to save on time, just move the text labels for Signature and Date up to the ReportFooter, and delete the lines and other text fields out of the pagefooter
9. To display the Signature, drag over the PictureBox control
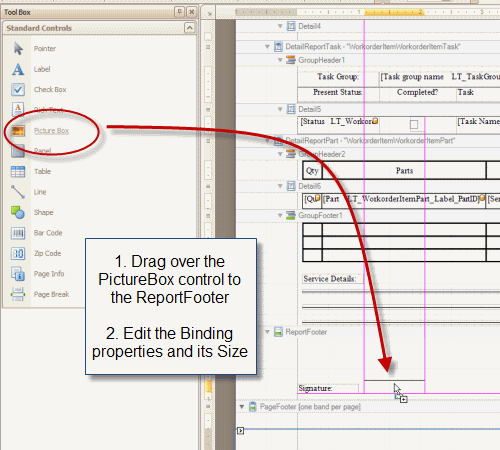
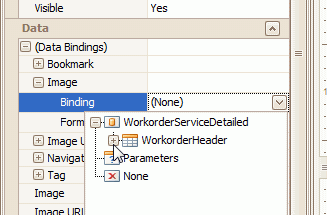
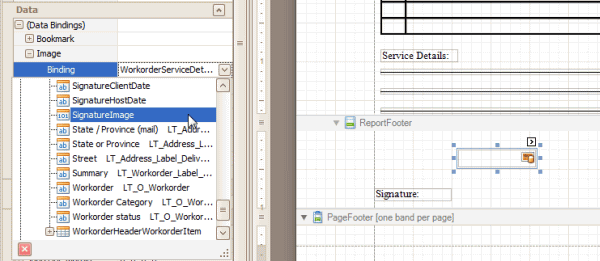
10. With that PictureBox control selected in the ReportFooter, expand the Data Bindings property -> Image -> Binding, and select the SignatureImage datafield
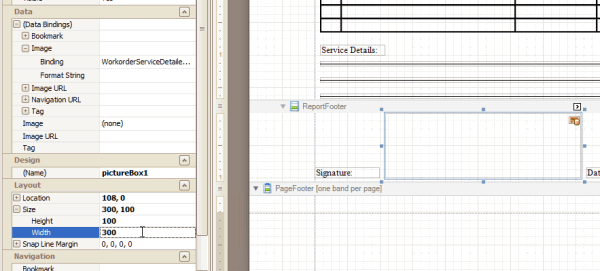
11. The Signature image has a 1 to 3 ratio with 100 height by 300 width the closest to what is actually used in WBI and MBI if looking to display as written
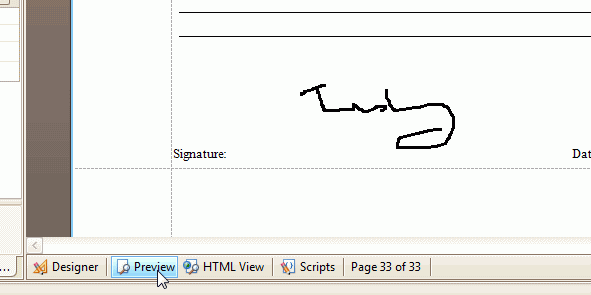
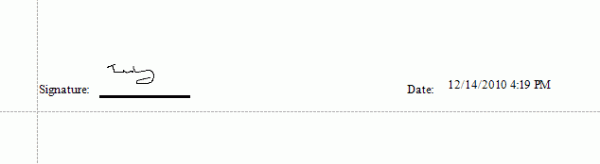
12. Preview to see what it looks like
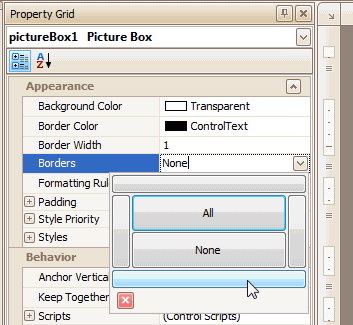
13. You might also want to place a bottom border - so that if this report is printed off without a signature, it has a line showing where would sign manually.
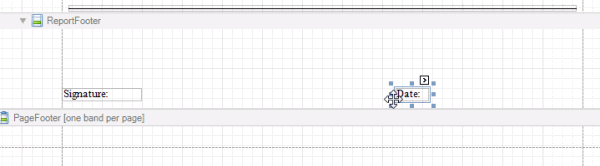
14. Show the date the client signed, by dragging over the SignatureClientDate datafield from the Fields tab

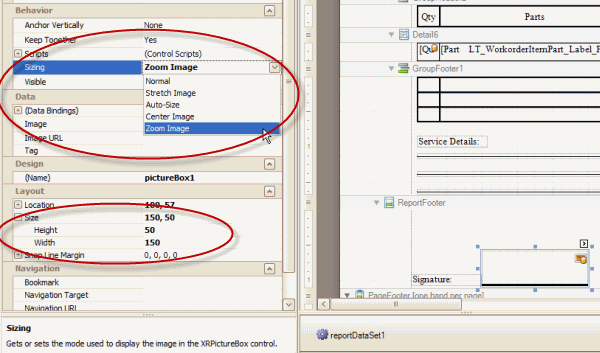
15. If you would like to have the signature field a different size, keep the 1 to 3 ratio. And you may also need to set the Sizing property.
For example, in the screenshot below if we set to a height of 50 and a width of 150, would want to set the Sizing property to Zoom Image so that it fits within the space given
16. Do try out different settings and preview so that you can see what it will look like.
NOTE: You MUST set the Sizing back to Normal before being able to change the size (width and/or height) of the control field.
17. Save any changes made to your customized report, exit out and congratulations - you have customized another report template!