Configuring an AyaNova client so they can log in via RI is similar to doing so for an AyaNova user - but with a few major differences that makes AyaNova recognize the client logging in as a client.
There are five major steps that must be performed:
1.Via the AyaNova program - configure security groups for clients/head offices
2.Via the AyaNova program - create user accounts for clients/head offices
3.Via RI - Client User - configure the Default Client Login Workorder Report
4.Via RI - Client User - configure the Client info service request info text field
5.Via RI - Client User - set ability to see Wikipage of the service workorder
1. Via the AyaNova program - configure security groups for clients/head offices
There are FIVE possible Security Group setting objects that can be set that affect what features your client has access to when logged in via your Client RI:
![]()
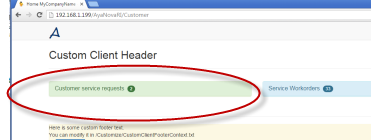
i. the Object.ClientServiceRequest
i) Set to Read Only if you want the client/head office to only be able to view existing customer service requests
ii) Set to Read/Write if you want the client / head office user to be able to view existing service requests and to create new service requests.
iii) Set to Read/Write/Delete if you want the client/head office user to be able to view existing service requests, and create new service requests and delete service requests that have not been accepted or rejected (Open).
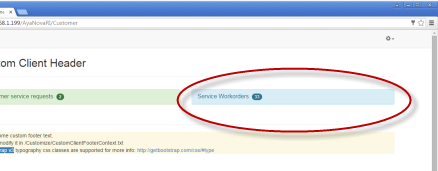
ii. the Object.WorkorderService
i) Set to minimum Read Only to allow the client/head office to view that client's Service Workorder list
NOTE: even if you set this Object key to a higher security group right, the client/head office will only ever be able to view, not edit.
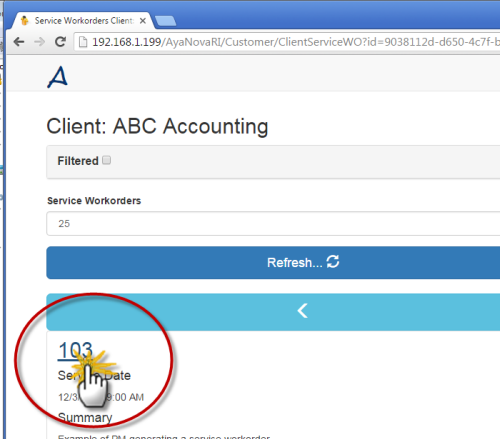
iii. the Object.Report
i) Set to minimum Read Only to allow the client/head office to select to display the report for the specific service workorder
NOTE: even if you set to a higher security group right, the client/head office will not be able to ever edit or delete.
iv. the Object.Wikipages
i) Set to minimum Read Only to allow the client/head office to view the Wiki page associated with the service workorder.
ii) AND #5 below must be checkmarked and saved.
NOTE: even if you set Object.Wikipages to a higher right, the client will only be to view and can not edit.
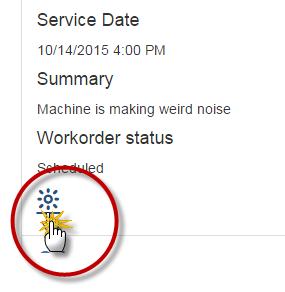
v. the Object.User
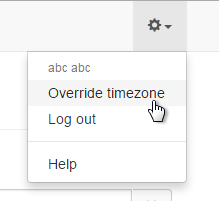
i) Set to minimum Read/Write to allow the client to set their own TimeZone
The suggestion would be to keep all other Objects to a security right of Forbidden so you can see at a glance which Objects have rights set or not (even if you set other Objects to other rights to something else, client/head office will not have the ability to access)
2. Via the AyaNova program - create user accounts for clients/head offices
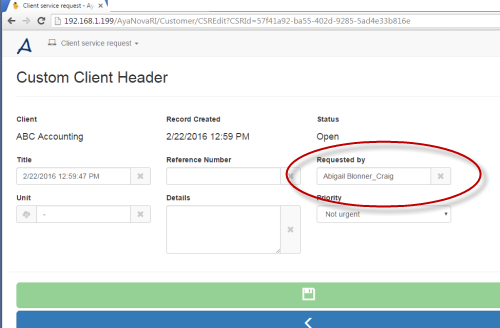
a. What you enter in the First Name and Last Name will display automatically in the Requested By: field in the Customer Service Request entry screen (note of course, user can still edit what is in the Requested By field (i.e. if multiple people share the same login they might edit entering their own name) is there automatically for them)
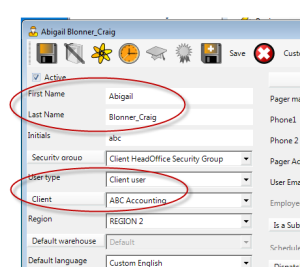
b. Select the Security Group relevant for this client / head office.
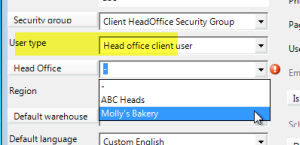
c. Select either User Type of Client user or Head Office client user and tab off (or click elsewhere) so that the field below it for selecting either the Client or the Head Office is activated
i. If you select User Type of Client user, the field directly below it will display with the label Client, and when you drop down, only clients are selectable
ii. If you select the User Type of Head office client user, the field directly below it will display with the label Head Office, and when you drop down, only head offices are selectable
e. Continue entry of a first name, last name, initials (initials will display for the client in their list of service requests in the event a client has multiple client users that log in via Client RI to be able to distinguish who made the service request), and other fields, including login name and password
f. Save the User entry screen.
g. Test by logging in via your Client RI URL using this newly created username and password for your client, and ensure access before giving your client the login information.
Reminder: your Client RI URL has a different URL path then your staff would use
A User Type of Client user or Head office client user is not able to log in via the AyaNova program - only via your Client RI url.
If a client/head office attempts to log in via your staff RI url, nothing will occur.
If a client/head office attempts to log in via the AyaNova program, they will receive the following message:

A User Type of Head office client user will have the ability to view existing service requests, create new service requests and delete existing Open service requests for each of its clients.
It is suggested to log in as a head office user so you can see the difference between a client log in and a head office login.
3. Via RI - Client User - configure the Default Client Login Workorder Report
when logged in as a User Type of Administrator user via staff RI
a. Log in via your staff RI (as the option to set these settings is not available via the AyaNova program) as the AyaNova Administrator user or a user that is of User Type Administrator user
b. Select the Client User menu option via your cog
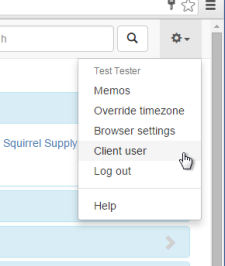
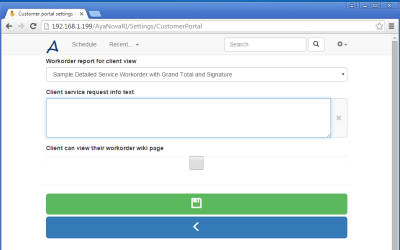
c. Drop down the list of available service workorder report templates and select the report template that client's will view individual service workorders by (your list of selectable reports may differ of course)

i. Select a report template that will show details to your client - for example, the Sample Detailed Service Workorder with Grand Total and Signature that has been customized with your company name and information.
ii. You have total control over what the client does and does not see of the service workorder as you can customize an existing report template or create a new report template specifically for clients when viewing their service workorders via RI.
iii. The report template selected applies to all clients/head offices that have the security group right to view their workorders.
d. Select the Save button
e. Close the web page ( it will not auto-close by itself)
f. Log in as a client user via your Client RI url to their Dashboard, select the Service Workorders panel, select a service workorder hyperlink and confirm displays using this report just selected.
4. Via RI - Client User - configure the Client info service request info text field
a. Log in via your staff RI (this option is not available via the AyaNova program) as the AyaNova Administrator user or a user that is of User Type Administrator user
b. Select the Client User menu option via your cog


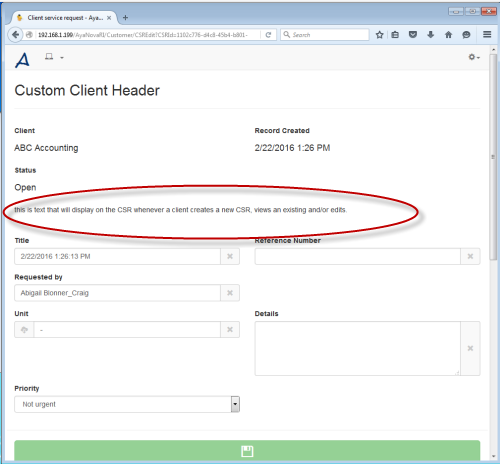
c. Enter in text (or raw HTML) that you want to have displayed on the Customer Service Request form that all RI Clients will see.

d. Select the Save button to save any changes you enter here.
e. What you enter in that field will then show in the Customer Service Request entry form for the client when next logs in - for example, if have edited the Client service request info text: field as per the example above, the following will display in the Client's service request entry screen:
5. Via RI - Client User - set ability to see Wikipage of the service workorder
a. Log in via your staff RI (this option is not available via the AyaNova program) as the AyaNova Administrator user or a user that is of User Type Administrator user
b. Select the Client User menu option via your cog


c. Checkmark the field Client can view their workorder's wiki page

d. Select the Save button to save any changes you enter here.
e. Now the client when next logged in will be able to view the Wiki page if associated with the service workorder
