This tutorial will go through how to create a new schedulable user
NOTE: The AyaNova sample data when you first install AyaNova includes licensing for up to 5 scheduleable resources and all optional add-ons, for 45 days from date of install.
The sample data includes 4 (four) technicians already using up four of the available 5 (five) scheduleable resources licenses. Try the steps below to test out creating a new user that is set to User Type of Scheduleable User.
•It is highly recommended that you review this Help file's entire section on Security Groups and Users for complete overview , suggestions on use, tips on use and more.
•NOTE: If using Regions, do note that users can only view data that is assigned to the same region as theirs. So if you created a workorder and assigned a schedulable user to that workorder, but that client is of one region and the schedulable user is of another, be aware that the schedulable user will not see that scheduled workorder when they log into AyaNova.
Steps to create a new schedulable user
1. Log into AyaNova as the AyaNova Administrator or a user that is of user type AyaNova Administrator (such as the test user if using the sample data)
2. Select the Administration navigation pane, and view the Users grid
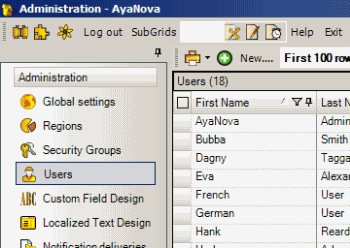
3. Click on the ![]() New... grid menu option to create a new user which will open a empty new user entry screen
New... grid menu option to create a new user which will open a empty new user entry screen
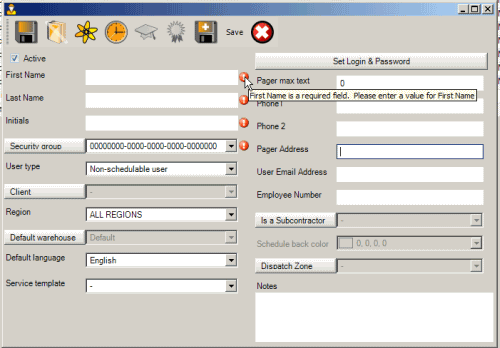
4. You will note on first opening of the empty new user entry screen, that some fields have a red exclamation mark - these indicate fields that are required and can not be left unset.
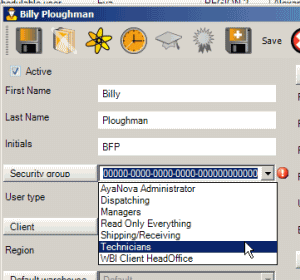
5. Enter the schedulable user's first name as Billy
6. Enter the schedulable user's last name as Ploughman
7. Enter the initials as BFP
8. Select the Security Group of Technicians
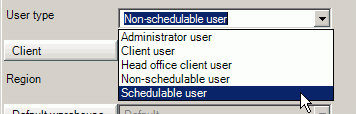
9. As we want to be able to schedule this user and assign him to service workorders, we select the User type of Schedulable user
10. Now if we tab off, other fields become editable because this is a schedulable user.
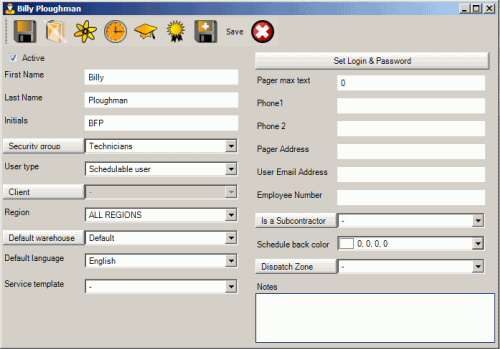
11. If you select the default Region, then this user has access to all data regardless of what region the data is assigned to. If you select a specific region, then this user is restricted to only viewing data available for that region. Refer to the Regions section for more details.
12. You can assign a Default Warehouse to save this user entry and selection time and ensure they use the correct warehouse by default.
Make sure that the if you have specified a specific region for this user, that the Default Warehouse you have selected is also set for that same region otherwise this user won't be able to access it.
13. By default, the Default Language set in Global Settings will be pre-selected for you.
The Default Language is where you set what locale this user will use. Localization affects what text labels in AyaNova are displayed. Refer to the Localized Text Designer for more details.
14. If you select a specific Service Template for this user - when this user is logged in and creates a new workorder for any client, it will default to pre-selecting that service template to save that user time.
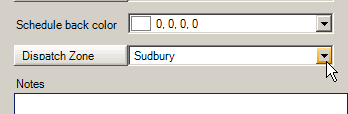
15. Select the Dispatch Zone of Sudbury for this example schedulable user
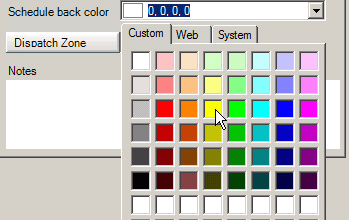
16. When viewing the Schedule screen, what color you set for Schedule Back Color for this schedulable user's workorder items will have this back color for easy viewing. See the Schedule section for more details about the Schedule screen.
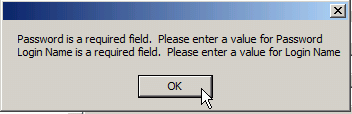
17. Click on the ![]() Save & Exit menu option - you will note that you receive the message that a password and username needs to be set for this user.
Save & Exit menu option - you will note that you receive the message that a password and username needs to be set for this user.
18. Select the Set Login & Password which will open the username and password entry screen
![]()
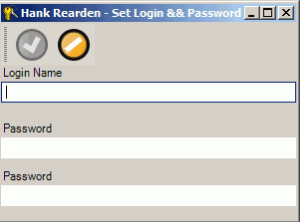
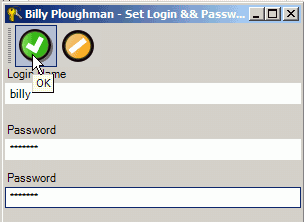
19. Enter in the login name for this user as billy
20. Enter in the password for this user as billy01
21. Re-enter the password again to confirm. If you do not enter the password identically twice the OK button will not be available.
22. Select the OK menu option to save and return to the user entry screen
23. Click on the ![]() Save & Exit menu option.
Save & Exit menu option.
You have now created a new schedulable user. This user will now show in the Schedule screen, and can be selected in service workorders.