See Also:
Common entry screen menu options
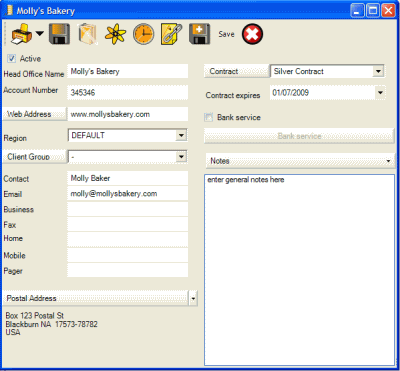
Fields of the Head Office entry screen:
Active
![]()
If unchecked, Head Office will appear only in head office grid screen, and not be listed in head office drop down selection lists.
Head Office Name
This is where you enter the head office company or name if it’s not a company. This field is used to fill any list in AyaNova where you need to select a head office and be identified in any head office column.
If the head office is not a company, then typically you would type the last name followed by a comma, a space and then the first name like this: Smith, Joe.
As with client’s names and any object name, the head office name should be unique so it is identifiable via the drop down selection lists.
Account Number
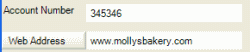
The account number for your head office may be obtained from your accounting software, and is another way of identifying your head office in reports or via the head offices grid. This is a text field only and not tied to any particular accounting feature.
Web Address
If you click on the Web Address jump button, it will open up your computers default web browser to that entered URL address. Entering the head office’s web address also allows you to easily select it from the head office grid if this is a need in your service.
Region
![]()
This drop down lists the available regions for selection.
By default a new Head Office will have the default region selected which means all users that are set for any region can view.
Do note that all users regardless of the region they are specified to will continue to see all head offices listed in the Head Office grid because commonly it is the client that is regionalized, whereas the Head Office is available to all.
See Also: Regions
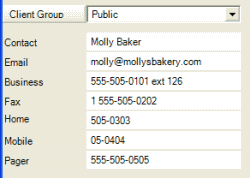
Client Group
Assigning head offices to client groups is useful for sorting and filtering head offices within the grid.
Clicking on the Client Group button opens the Client Groups grid. This is useful so that you can quickly and easily add additional Client Groups to select from, or edit existing as needed and as you have rights to.
As with all fields other than the Head Office name, this is an optional field. You do not have to enter anything if you do not want to use this.
Contact
Suggestion is to enter the first and last name of the main contact for this head office in this field
Enter in the main contacts email address here
Business, Fax, Home, Mobile, Pager
Enter appropriate phone numbers where indicated. These fields are not preformatted for specific telephone numbers - enter how you want to.
Postal Address and Physical Address
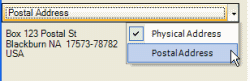
The Postal Address is the address where the head office receives mail. The Physical Address would be where they receive deliveries or where they are physically.
You can switch between these two addresses by clicking on the drop down arrow to display, and then clicking on either the Postal Address or Physical Address.
The Head Office's Postal Address is available via detailed report templates for service workorders. This is useful so that you can have the Head Office's address display on a report that is to be sent to the head office.
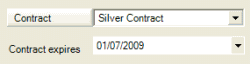
Selecting a contract assigns that contract settings to this head office, which in turn assigns it to all clients that have this head office selected within their Client entry screen.
Selecting a contract will automatically apply that contract’s settings on rates to be used and part discounts to service workorders where clients that have this head office selected.
This cuts down having to select the same contract for every client that has this same head office.
You can quickly see the specifications of the contract by selecting the contract from the drop down selection list, and then clicking on the Contract button to open that contract.
If the contract desired is not in the drop down list and no contract has been selected as the image above, then with the drop down selection list blank, click on the Contract button to open up a new Contract entry screen so that you can enter the Contract details, save, close and then select it from this list.
Contract Expires
If the contract has expired, it will not show the Contract icon within a service workorder and contract specifics would not apply.
Entering the contract expire date is also useful because it you could run a report of contract expiry dates so that you can see at a glance which will expire soon and renew them.
Bank Service
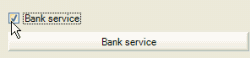
If checked, this displays the Bank Service button to open the Banking grid.
Banked service allows you to manually enter in prepaid amounts, and to automatically apply against the balance from service workorders.
Notes
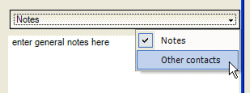
These are notes about this head office for viewing when on the head office record screen only. They are not intended to be used elsewhere in the program.
Other Contacts
Enter additional contacts information in this text box.
Fields from the Head Office entry screen that are available in a detailed service workorder report template
•Head Office name
•Head Office Postal Address
•Head Office Postal City
•Head Office Postal Country
•Head Office Postal PostalCode
•Head Office Postal StateProv