Enter opening inventory by Inventory Adjustments.
The following tutorial example is on entering in part inventory adjustments - in other words, entering in stock so that part quantity can be selected from warehouses in workorder entry screens.
1.Log into AyaNova as a user that has rights to Parts and Part Inventory (i.e. log in as the AyaNova Administrator)
2.Move to the Inventory navigation pane and open the Inventory Adjustments grid
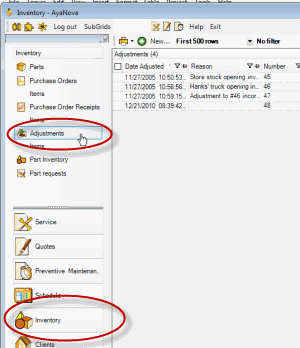
3.Create a new Inventory Adjustment via the menu option New… ![]() at the top of the grid
at the top of the grid
4.You will note that the inventory adjustment entry screen title bar does not show an Inventory Number – it will not until the inventory adjustment is saved. Once an Inventory Adjustment is saved, it can not be edited or additional items added.
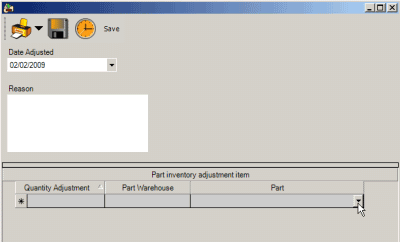
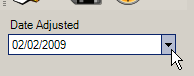
5.The Date Adjusted defaults to today's date. As we are entering an adjustment that we do wish to reflect today’s date, we will leave it at this.
6.Enter in the reason for the inventory adjustment of 5th Street Opening Inventory. As an inventory adjustment can be for many reasons, identifying it here will provide information for others and reporting purposes.
7.Now we will enter in the parts and quantity for the 5th Street warehouse
8.Select the part CL2457
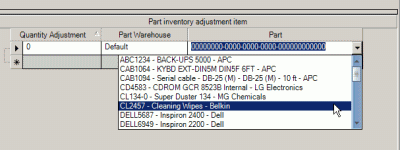
9.Enter the Quantity Adjustment of 3. If a positive number, this “adds” to inventory. If we were to enter in a negative number such as -3, this “removes” from inventory.
10.You will note that the warehouse selection for the part defaults to the Default warehouse. In this example, we want this inventory adjustment for the warehouse 5th Street, so we need to select that warehouse.

11. Select another part to make an adjustment for - select the part POW700
12. Select the warehouse 5th Street
13. Enter a quantity of 1 and press Tab on your keyboard, or use your mouse to click in another field
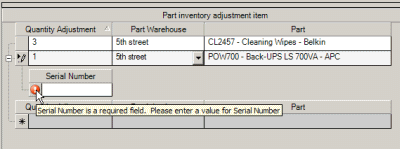
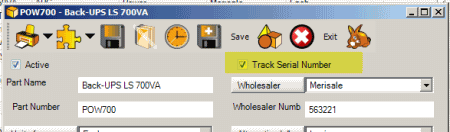
14. Note that a sub-row appears for this part’s serial number. This is because this part POW700 is set to track serial number in its part entry screen as shown below.
15. Enter in the serial number APC676767
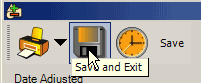
16. Save & Exit from the menu options to close out of the Inventory Adjustment entry screen
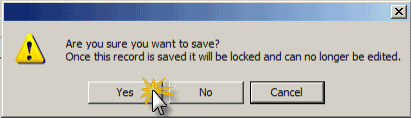
17.Select YES to confirm saving and having read the message
18.The inventory adjustment record will display in the Inventory Adjustment grid and if you view the Part Inventory grid you will now see that the quantities you put into inventory now show as On Hand