AyaNova installation - Windows local network
Please read through all the instructions below before proceeding with installation to be sure everything is available and ready.
Windows Local network installation is suitabale for use within a private office network. This type of installation is not suitable for outside internet access, for outside access use the IIS hosted AyaNova server install guide instead.
This installer includes the AyaNova server application only and requires a PostgreSQL server be installed or accessible and the .net Core framework to be installed separately first.
Once the AyaNova server is up and running users on a local area network can access it with their web browsers pointed to the address of the AyaNova server.
No installation is required at the user end to access the AyaNova web app with a supported browser.
AyaNova web app system requirements
An up to date modern web browser (not Internet Explorer) with Javascript enabled on any device with a minimum display width of 360 pixels. While other browsers may work, we test AyaNova on the most recent two releases of Chrome, FireFox, Safari and Edge on Windows, Android and Apple platforms.
AyaNova server system requirements
- OS : Windows 64 bit operating system
- Internet connection : required to install license and to automatically download the Chromium report rendering engine
- Disk space: minimum 2GB of free disk space
- RAM : 1GB (minimum), 2+ GB (recommended)
Folders
- Program files : By default (and recommended) AyaNova server program files will be installed to
C:\Program Files\ayanovafolder - Data files: All data aside from attachment files is stored in the PostgreSQL database. By default AyaNova will store attachment files, logs and backup files in the %ProgramData% folder under
ayanovawhich on most computers will be located atC:\ProgramData\ayanova. Each folder location can be changed via configuration.
Installation procedure
1. Install PostgreSQL server
AyaNova requires access to a PostgreSQL database server version 12 or newer. It should be up and running before AyaNova is installed. If you do not have a PostgreSQL server already then it must be installed to a location visible to the AyaNova server (same computer or a local computer on the same network).
PostgreSQL is open source and free to use.
If you need to install PostgreSQL follow this installation guide https://www.postgresqltutorial.com/install-postgresql/
Note: we have seen cases during testing where the PostgreSQL installer will show error messages related to Visual C++ runtime file installation on the latest Windows server platforms however this appears to be cosmetic only and doesn't affect operation of PostgreSQL.
PostgreSQL server Password
If you are installing PostgreSQL you will be prompted to provide a password to access it. Be sure to make a note of this password as AyaNova will need it to be specified later in the AYANOVA_DB_CONNECTION configuration setting after installing the AyaNova server.
Warning: Be careful about using special characters for your Postgres connection string, particularly the password and database name, we've encountered issues with the automatic internal backup failing due to a @ or $ symbol in the password. On some platforms when AyaNova attempts to run the backup utility it may fail if that operating system does not support certain special characters found in the password as they may interfere with the "shell" command called to perform the backup.
2. Install ASP.NET Core Runtime
AyaNova is built upon the ASP.NET Core runtime version 8.x.x and it should be present before AyaNova is installed.
Warning Microsoft provides several different links to "asp.net core runtime" downloads; the one required by AyaNova is the link labelled "Hosting bundle".
Download the ASP.NET Core Hosting bundle runtime here https://dotnet.microsoft.com/en-us/download/dotnet/8.0.
Run the installer and take the defaults.
Confirm your ASP.NET Core runtime is installed and running by opening a DOS command / Windows Shell window and typing
The AspNetCore runtime should be displayed with version 8.x.x, for example:
Microsoft.AspNetCore.App 8.0.5 [C:\Program Files\dotnet\shared\Microsoft.AspNetCore.App]
Microsoft.NETCore.App 8.0.5 [C:\Program Files\dotnet\shared\Microsoft.NETCore.App]
(your version may be newer)
3. AyaNova server installation
Once you have ensured the two requirements above are installed and available; download and run the AyaNova network installer: https://www.ayanova.com/download/ayanova-windows-x64-lan-setup.exe.
Smart screen warning
You may receive a "Smart Screen" warning from Windows such as the following:
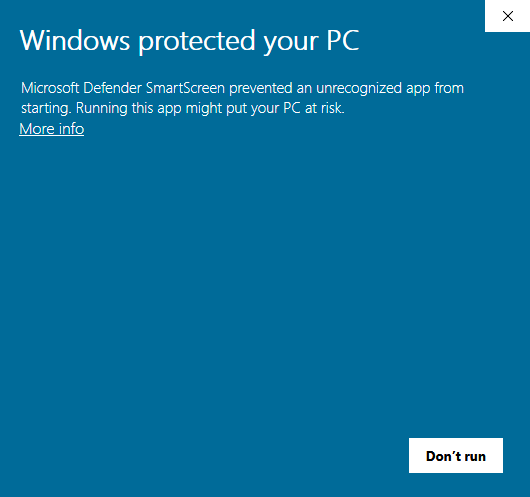
Clicking on More info will reveal the following:
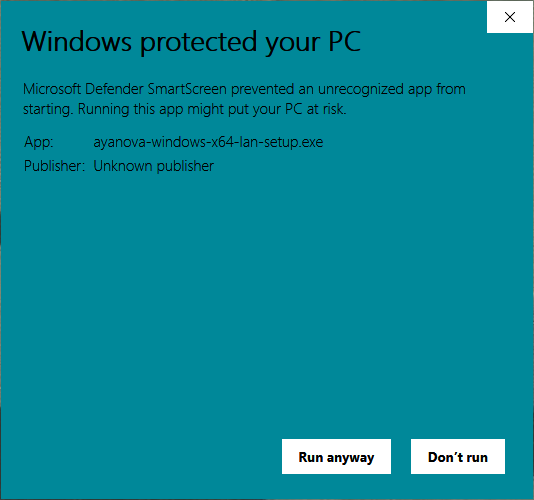
Use the Run anyway button to start the installation.
Why is the installer blocked by SmartScreen?
Windows SmartScreen blocks all files that it does not know. When a new version is released, these files are unknown to SmartScreen and thus SmartScreen warns about them.
As more and more users install the new version, SmartScreen learns that the files are good. As soon as enough users have installed the new version, SmartScreen does not warn about it anymore.
SmartScreen does not support allowing software developers to request adding to a 'whitelist' when a new version of their software is published.
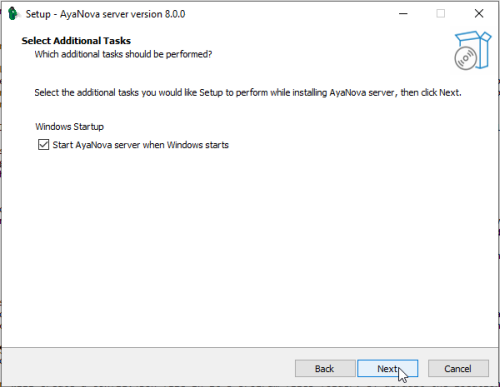
Keep the checkmark on Start AyaNova server when Windows starts and click on next.
You will be prompted to go to the asp.net core download page:
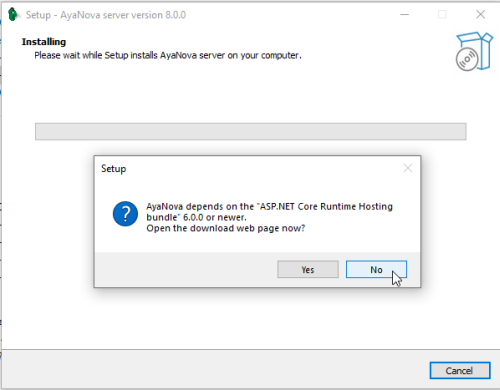
If you have already downloaded and installed ASP.NET Core Runtime, select No. Otherwise select Yes, and complete that installation before proceeding.
You will next be prompted to go the PostgreSQL installer page:
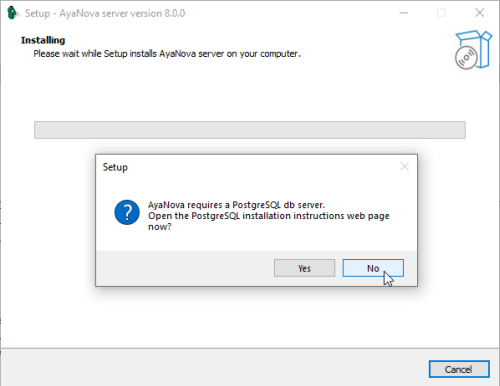
If you have already downloaded and installed PostgresSQL database server, select No. Otherwise select Yes, and complete that installation before proceeding.
Finish the installation.
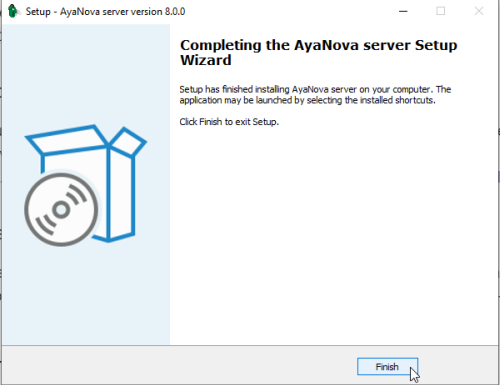
Do not run any component yet, further configuration is needed.
4. AyaNova Server configuration
The AyaNova server must be configured before it will be able to start properly and find the Postgres database server.
Configuration is done by editing the config.json file that has been installed to the c:\Program Files\ayanova\ folder.
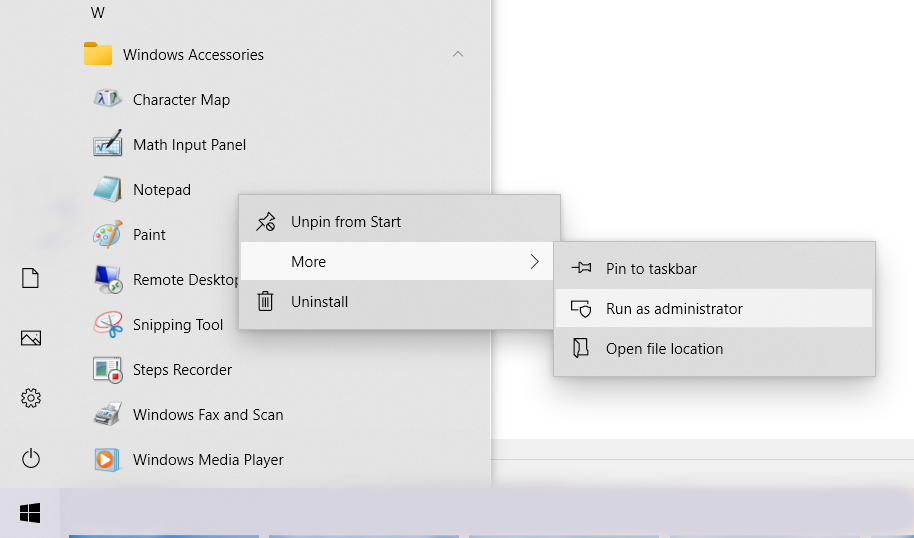
Run NotePad as Administrator to be able to edit and save in the program files folder by right clicking on the Notepad icon in the start menu, select More and Run as administrator:
From in Notepad, open the config.json file located in the location the AyaNova server had been installed to - default location is c:\Program Files\ayanova\
The default installed config.json file will initially have the following:
{
  "AYANOVA_USE_URLS": "http://*:7575",
  "AYANOVA_DB_CONNECTION": "Server=localhost;Username=postgres;Password=YOUR_PASSWORD_HERE;Database=AyaNova;",
  "AYANOVA_DEFAULT_TRANSLATION": "en",
  "AYANOVA_BACKUP_PG_DUMP_PATH": "C:\\Program Files\\PostgreSQL\\16\\bin",
  "AYANOVA_DATA_PATH": "%ProgramData%\\ayanova",
  "AYANOVA_LOG_LEVEL": "Info"
}
Note that any back slashes need to be doubled in config.json file or the server will fail to start.
Do not edit properties unless specifically indicated. If you encounter an issue, reconfirm your edits.
DO NOT EDIT:
The AYANOVA_USE_URLS property specifies which TCP / IP Port that AyaNova server should listen on for connections from web browsers. The default value is port 7575 which should be free in most cases, however if you need to use an alternate port due to conflict it must be set here. We recommend using the default 7575 to avoid current or future confusion or conflict with other servers that may be installed or present elsewhere on the network.
The USE URLS setting affects the address users will use to connect to the AyaNova server in their web browser. For example, to access the AyaNova server from the same computer the server is running on with the default port 7575 you would use this link in your browser http://localhost:7575, however from another computer on the network you would access the server via it's IP address, so, for example if the AyaNova Server computer's IP Address on your network was 192.168.1.10 users on another computer might connect via this address http://192.168.1.10:7575.
EDIT NEEDED:
The AYANOVA_DB_CONNECTION property must be edited and where it has "YOUR_PASSWORD_HERE" substitute the actual PostgreSQL password to be used that was previously set. If the database server is located on a different computer then the Server= connection string property must be set to the address of that computer.
EDIT ONLY IF NEEDED:
The AYANOVA_BACKUP_PG_DUMP_PATH property specifies the path to the PostgreSQL database backup utility pg_dump if AyaNova server will be doing the automatic daily backups.
A. if AyaNova server will be doing the automatic daily backups using AyaNova's Backup feature, confirm this path stated matches the path to YOUR PostgreSQL database backup utility pg_dump B. otherwise, If you already have a backup solution in place for your PostgreSQL databases AND WILL NOT BE USING AYANOVA'S Backup feature, remove this
OPTIONAL EDIT:
Modify the 32 character AYANOVA_JWT_SECRET property of the configuration which ensures that the logged in User's session can survive a restart of the AyaNova server. If this is not set AyaNova will invalidate all login tokens any time the server restarts by generating a new random JWT secret on boot.
Change this from the default of "11111YourRandom32CharacterSecret" to be unique to your site (must be 32 characters).
{
  ...existing properties...
  "AYANOVA_LOG_LEVEL": "Info",
  "AYANOVA_JWT_SECRET": "11111YourRandom32CharacterSecret"
}
After editing, saving and exiting out of NotePad, open the config.json file AGAIN to confirm that the changes were saved correctly and that the file is still specifically labeled with the name and extension config.json
5. Boot and test the server
The AyaNova installer will have created two shortcuts in the Start Menu under "AyaNova Server"
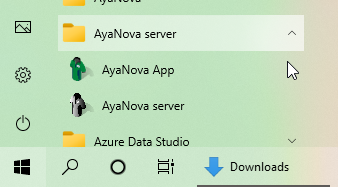
The AyaNova installer also creates two shortcuts on the Windows desktop titled "AyaNova server" and "AyaNova App".

5.1 Double click the AyaNova Server shortcut
The AyaNova Server shortcut will start a local copy of PostgreSQL, then AyaNova by running AyaNova.exe in the program files folder where AyaNova was installed.
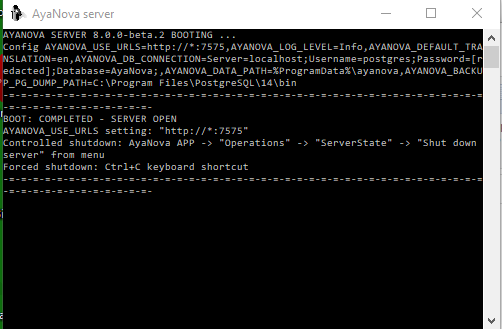
You should see a console window open and some text that indicates the server version and that it is booting. Any problems found that prevent boot up will be displayed here. If all is well then the console window will display "BOOT: COMPLETED - SERVER OPEN" as well as some other configuration data.
If the server closes immediately upon running with an error
In some cases where there is a critical error completely preventing AyaNova server from running, the server console may display the error but close too quickly to read it. In this case you can view the message by opening a shell / command line prompt and starting AyaNova.exe manually from it's program files ayanova folder.
If you see an error about the config.json file there is likely a comma missing or some other format issue from when it was edited in the earlier step. Double check that it's not missing a comma or has an extra comma at the end that is not required or anything else that stands out.
If you receive an error that mentions Microsoft.NETCore.App it may be that the .net installation did not complete properly even though the display runtimes command executed properly. In this case the issue is often resolved by redoing the .net installation instructions above.
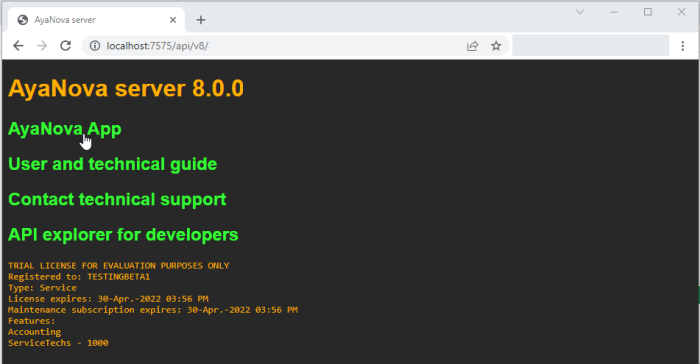
5.2 Double-click the AyaNova App shortcut
The AyaNova App shortcut will start a batch file which in turn will open the default browser to the AyaNova server's landing page at the default address.
Starting and stopping AyaNova server
To shut down the AyaNova server press the ctrl-c key combination in the ayanova-launcher window. To start the AyaNova server use the installed desktop or start menu icon to run the ayanova-launcher.
If you chose the "Start with Windows" option during installation AyaNova will start automatically on Windows login.
Report rendering first time delay
The very first time a report is rendered in AyaNova there will be a delay while the Chromium browser report rendering components are installed.
6. Next steps
Server installation is complete.
Users will require the URL to use in their browser to access the AyaNova APP, see the AYANOVA_USE_URLS in the configuration section above.
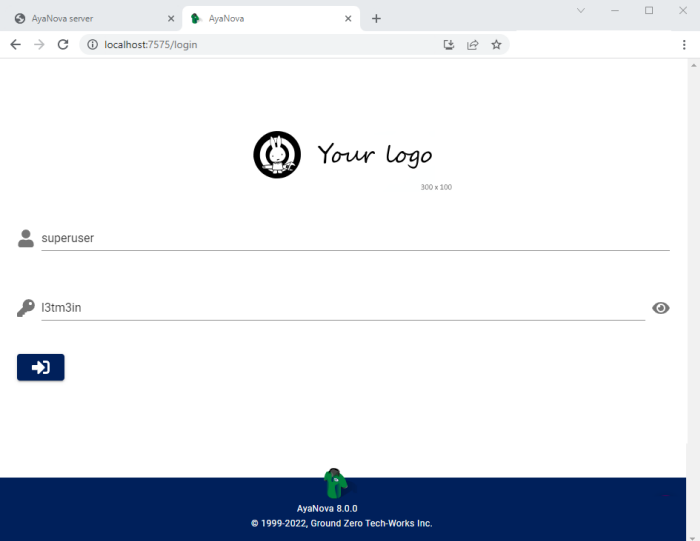
The next step is to login, request or install a license and if are trying out AyaNova for the first time follow the evaluation trial guide.
To ensure AyaNova runs smoothly and data is safe and secure be sure to look over the Server operations configuration and maintenance guide.
For Business administration and setting things up from a business perspective, review the Getting started - Set up for production use step in our Getting started guided tour.