Guided tour: Require entry in edit form fields
In this guided tour we'll make some fields on a Customer edit form required for entry.
The same technique you learn here applies to any other type of form in AyaNova.
AyaNova has some fields that are required like the Name of most objects, but we try to keep that to a minimum and so most fields can be left empty, but sometimes you need a field to be filled in and so it's useful to be able to set a field to required entry.
Requiring entry in form fields applies to all users of AyaNova equally.
The screen shots will show how AyaNova looks on a PC or tablet, if you are using a narrow screen device such as a smart phone your view will be slightly different but the functionality is the same.
If you don't already have AyaNova available to follow along, everything you need to get started is available here: Try AyaNova now.
1. Login as a user with permission to modify form fields
In AyaNova a User needs permission to view and make changes to objects, this permission is called an Authorization role in AyaNova and an administrator grants permissions to each User as required.
Only a User with the Business administration role can customize form fields to required.
For this tour you must login as a User with that Role.
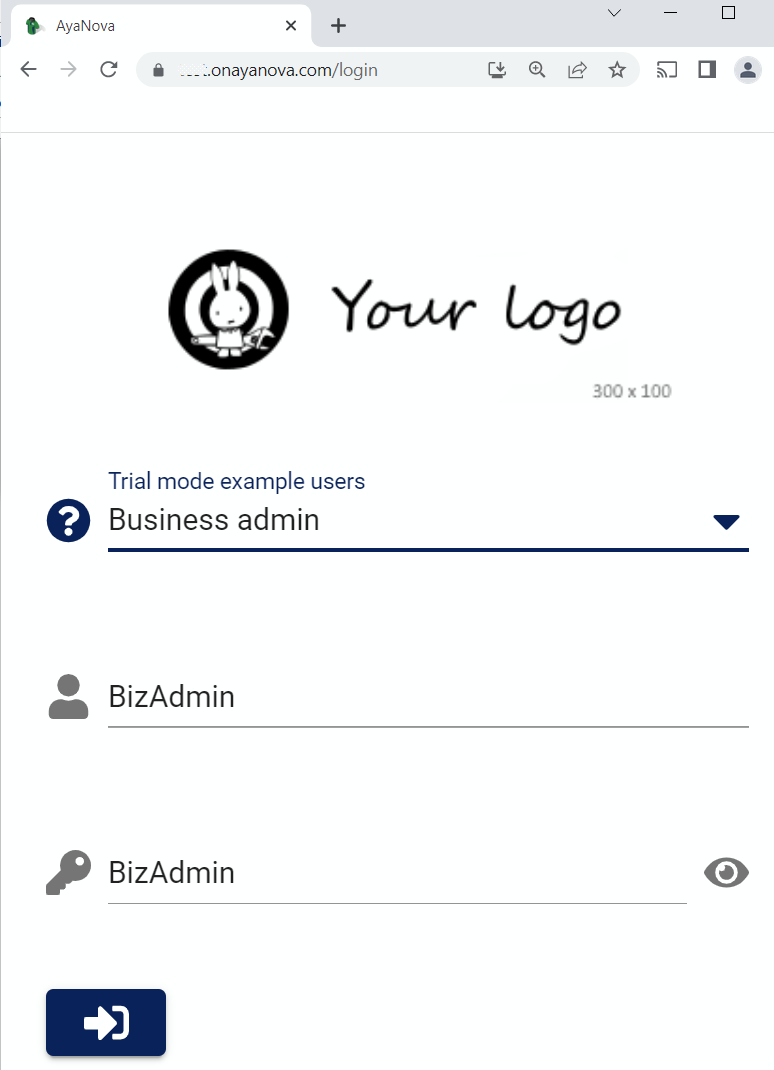
If you are using generated AyaNova sample data, we've provided a sample User for each type of Role so for this tour you should login as the Business Admin / BizAdmin sample User to follow along:
2. Open a Customer edit form
Edit forms are customized from the type of form you want to edit.
When you are logged in as a BizAdmin role User a Customize menu option will appear in any form that can be Customized.
The Customize option is now available in new, empty records so you need to open an existing record to get to that option.
So the first step is to get to a Customer's edit form, it doesn't matter which Customer, any one will do.
Navigate to an area of AyaNova where Customers are displayed in their data table. There are a few different ways to get there but we'll use the simplest one for this tour and open a Customer from the Customers data table list.
Click on the "Hamburger" icon
In AyaNova the main way to navigate around is by using the navigation drawer which is an area that slides out on screen to choose where you want to go.
When logged in you can access the navigation drawer from what is commonly known as a "hamburger" icon (highlighted below) because it looks kind of like a hamburger:
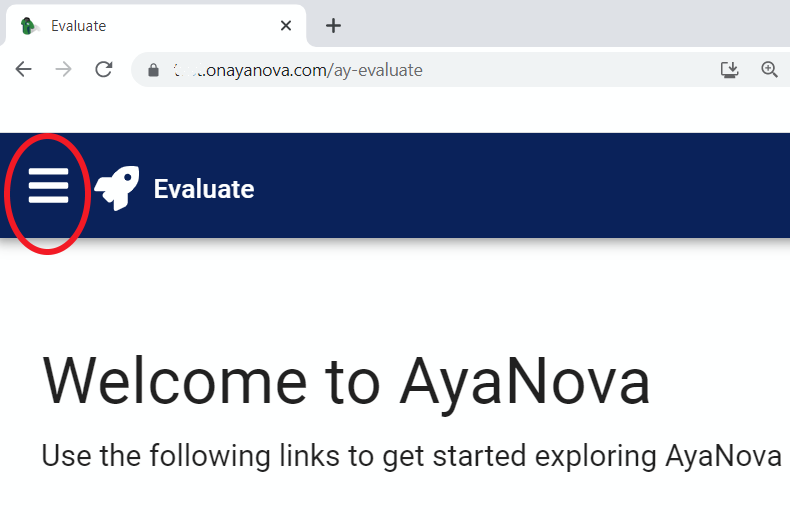
Click on the hamburger icon to show the navigation drawer.
Navigation drawer Customers items
In the image below you can see the options available to the sample "Business admin" User generated by AyaNova. Users with a different set of Roles will see different options here.
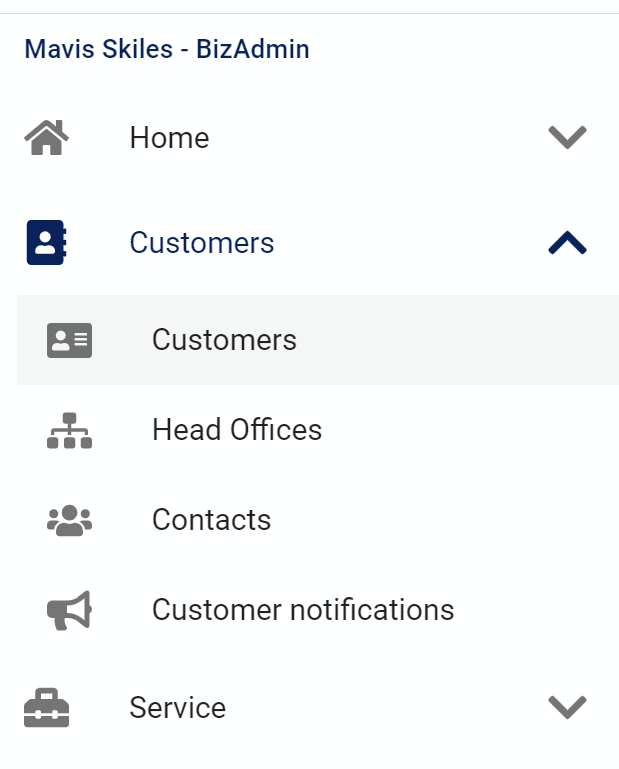
The area we want is "Customers" and the sub item also "Customers" so go ahead and click on that to cause AyaNova to navigate to the list of Customers previously entered in AyaNova:
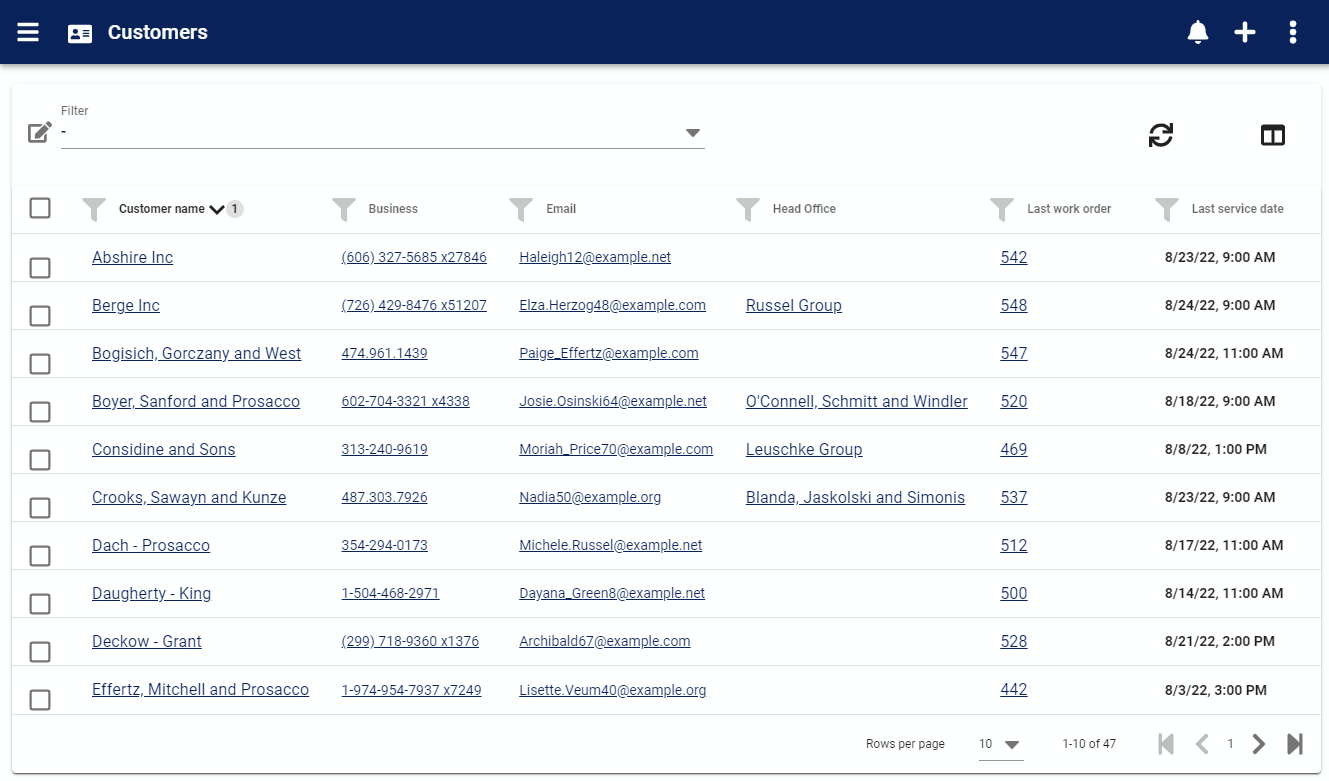
This list is known in AyaNova as a "Data table", data tables are used in many places in AyaNova for different kinds of objects. Data tables have many features and options to control what is displayed and how it's displayed so you can restrict the view to show only what is important for any given task.
Open a Customer record
Now click on any Customer's name in the list to open their record in the Customer edit form.
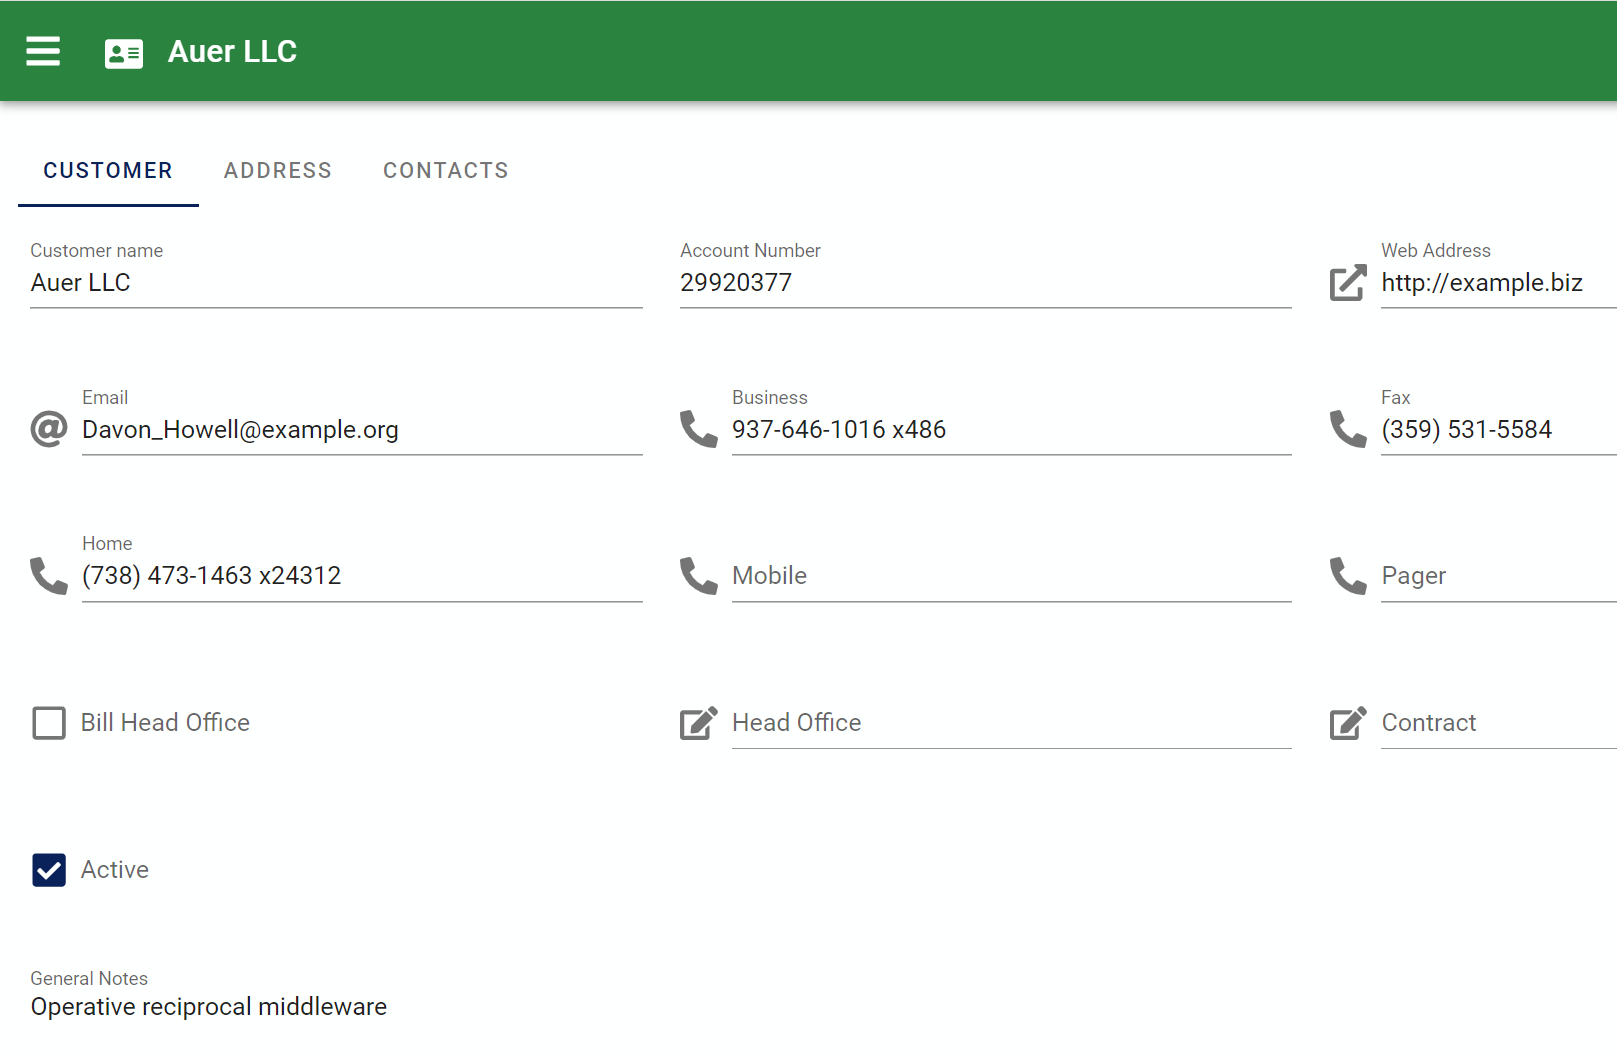
In the image above we can see the top part of a Customer edit form. We'll stick with the top part so the images are easier to see in this manual but the steps apply to a field anywhere on a form.
3. Customize
Normally the Email address is optional in a Customer record but for our business we've decided we always want to get an email address from each Customer so AyaNova can send them automatic notifications so we're going to set the email field to be required for entry.
Click on the menu button in the top right of the form. We're logged in as a Business Administration role user in step 1 so when we open the menu on a form we see a Customize option:
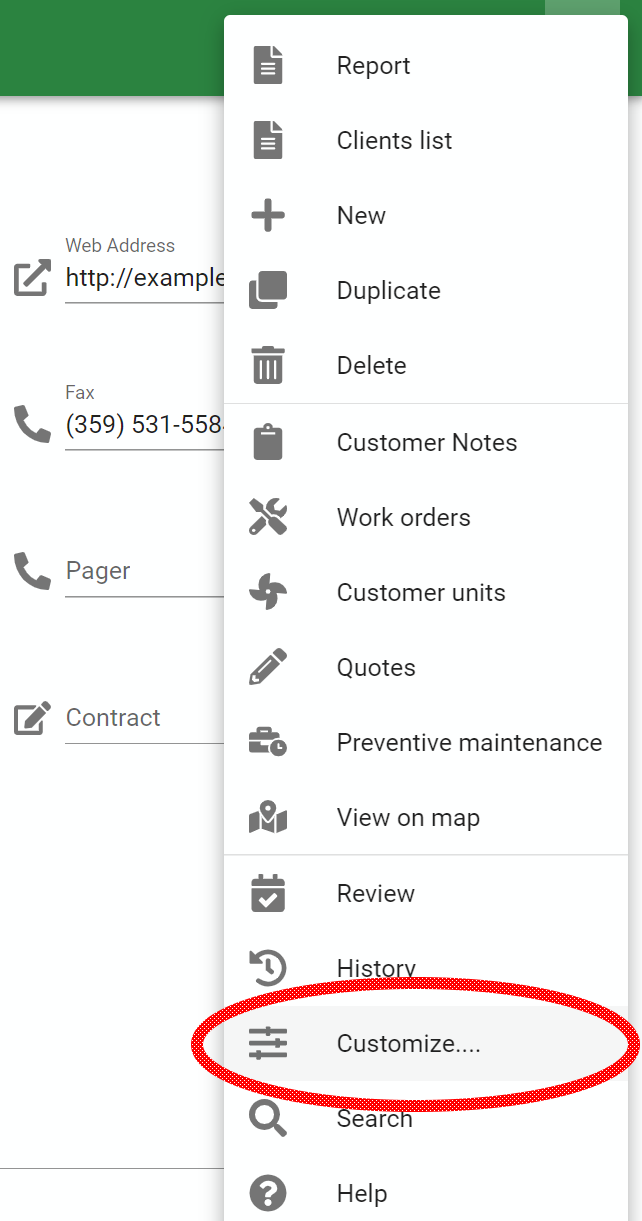
If you don't see a Customize menu option it means you're either not logged in as a User with the permission to customize forms or you are in a new empty record and haven't opened an existing record as required for customization.
Go ahead and click on Customize now to open the form customization interface:
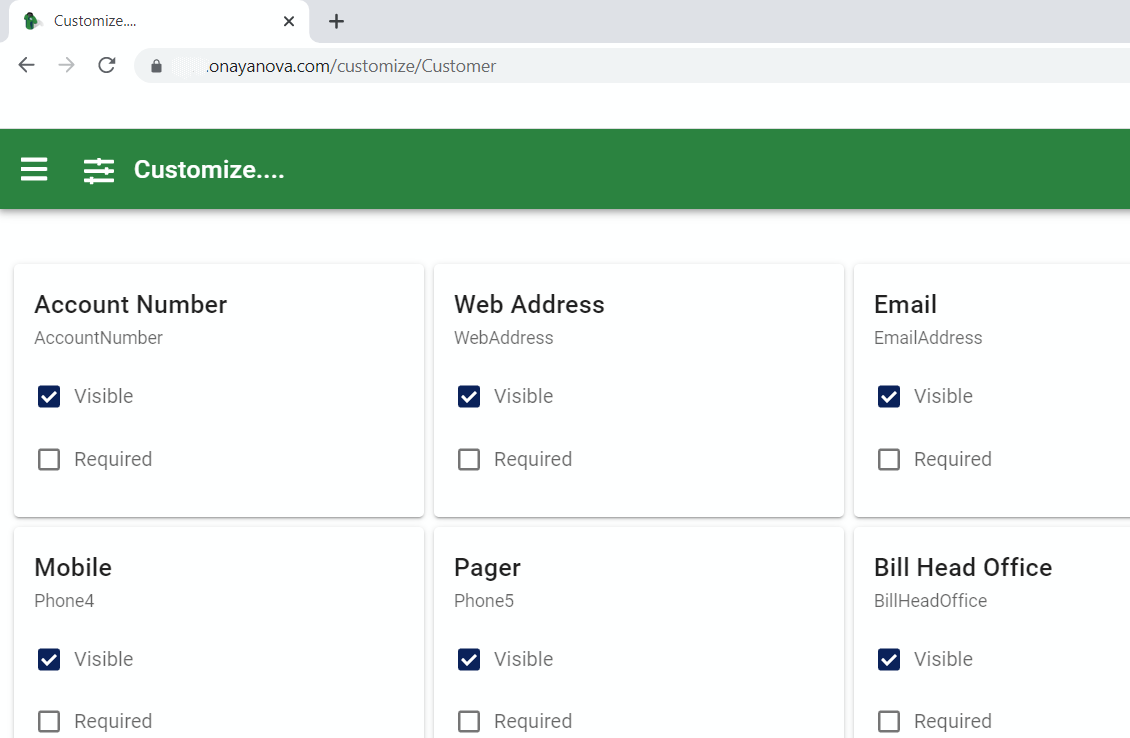
In the image above you can see boxes representing each field that can be customized on this form.
The title at the top of each box shows how it displays in your current language on the form you just came from. Below that is the translation key
Fields that can not be customized are not shown on this form. For example the Customer "Name" field is required so it can not be hidden and is not displayed here.
In this form you can do other things besides require fields for example making a field hidden (tour) or enabling Custom fields (tour).
For this tour we'll place a checkmark in the "Required" property for the Email field and click on the Save button at the top:
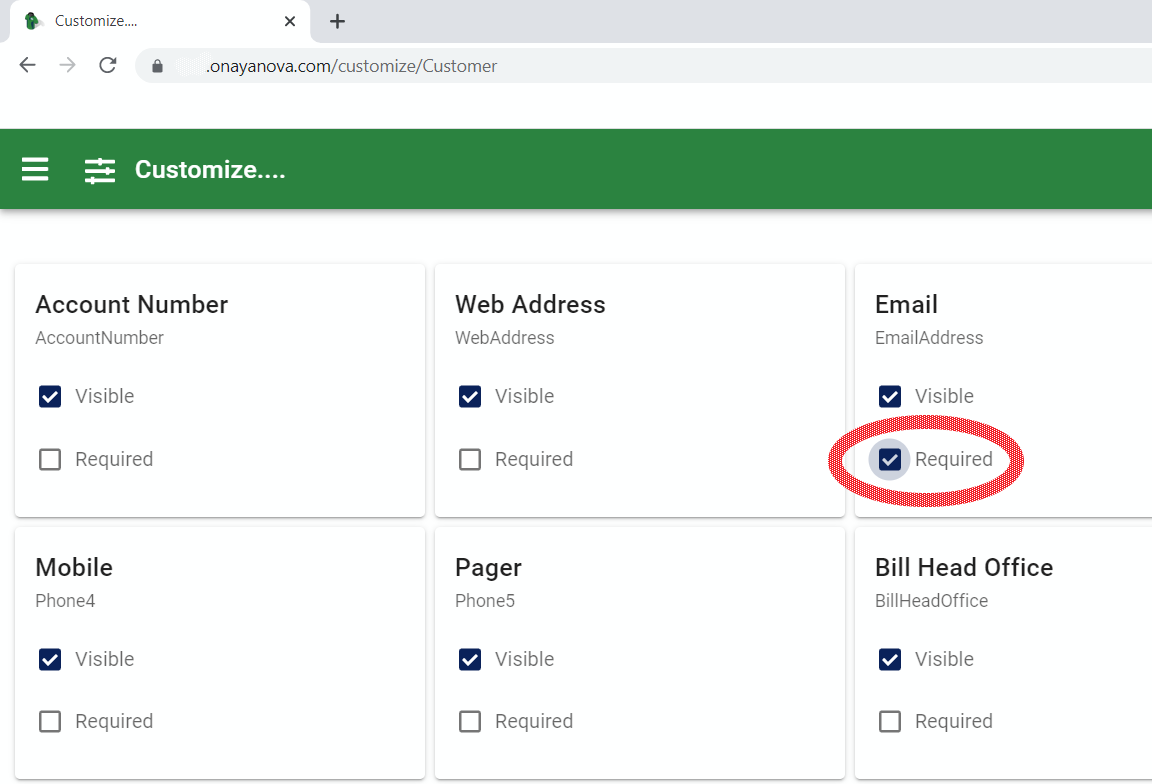
Now click on your browser's back button to go back to the Customer form and try to remove the email address and save the record:
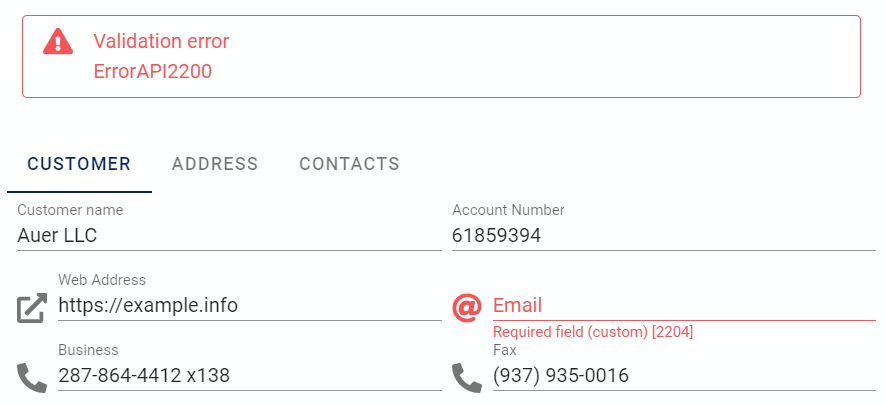
AyaNova won't allow the record to be saved without an email address entered.
Other users
As soon as you saved the customization changes they took effect for all other Users as soon as they next open the Customer edit form. In other words if they were actively editing a Customer they wouldn't see a change but the moment they opened another Customer for editing the change would take effect.
Oops!
You just realized you made a mistake and don't want to require the Email field. No problem, just click on Customize in the menu again and remove the checkmark beside the Required property in the Email customization box, save your changes and email addresses are no longer required!
What about previously entered records?
Requiring a field doesn't affect any existing records so, in our example, previously entered Customers that don't have email addresses will only trigger the required rule when someone edits them and attempts to save them.