AyaNova Windows local network platform upgrade
These instructions assume the original installation steps were followed without changes, if you had to make changes adjust accordingly.
Expired Maintenance plan
If you do not have an active Maintenance plan you will not be able to update.
1. Backup
Before proceeding, make a backup of the database and the attachment files and store it in a safe place.
If you do not have a fresh backup there will be no way to recover from potential data loss or damage.
2. Download setup file
https://www.ayanova.com/download/ayanova-windows-x64-lan-setup.exe
3. Stop the AyaNova server
Ensure all other Users are logged out of AyaNova before stopping the server.
To shut down the AyaNova server cleanly use the AyaNova web app form accessed from Server Operations -> Server State and the menu item Shut down server.
Alternatively you can force close AyaNova using the ctrl-c key combination in the AyaNova launcher window.
3.5. Pre-upgrade step
If your current AyaNova version is older than 8.2.0 (8.1.5 or older) there is an extra step before the normal upgrade script process below.
AyaNova 8.2.0 switched to .NET 8 LTS from the prior used .NET 6 LTS and it must be installed BEFORE continuing to the next step.
Install ASP.NET Core 8.x Runtime Hosting Bundle
Warning Microsoft provides several different links to "asp.net core runtime" downloads; the one required by AyaNova is the link labelled "Hosting bundle".
Download the ASP.NET Core Hosting bundle runtime here https://dotnet.microsoft.com/en-us/download/dotnet/8.0.
Run the installer and take the defaults to conclusion then proceed to the next step.
4. Setup
Run the setup file downloaded in step 2 above.
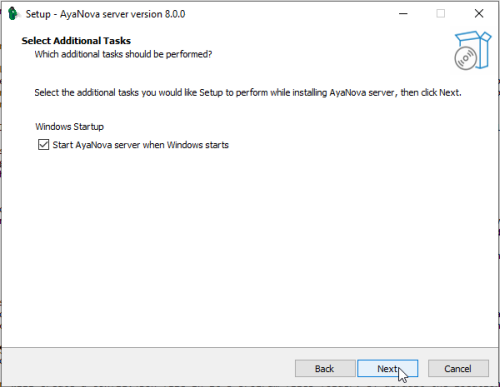
Keep the checkmark on Start AyaNova server when Windows starts and click on next.
You will be prompted to go to the asp.net core download page:
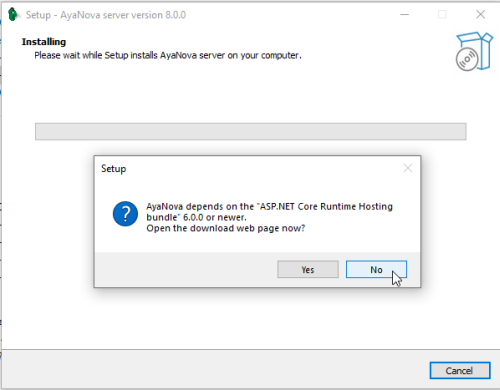
Select No.
You will next be prompted to go the PostgreSQL installer page:
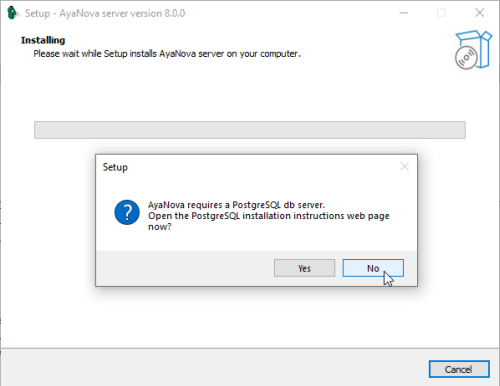
Select No.
The files will be updated and a final prompt will appear and ask if you want to overwrite the config.json file during setup:
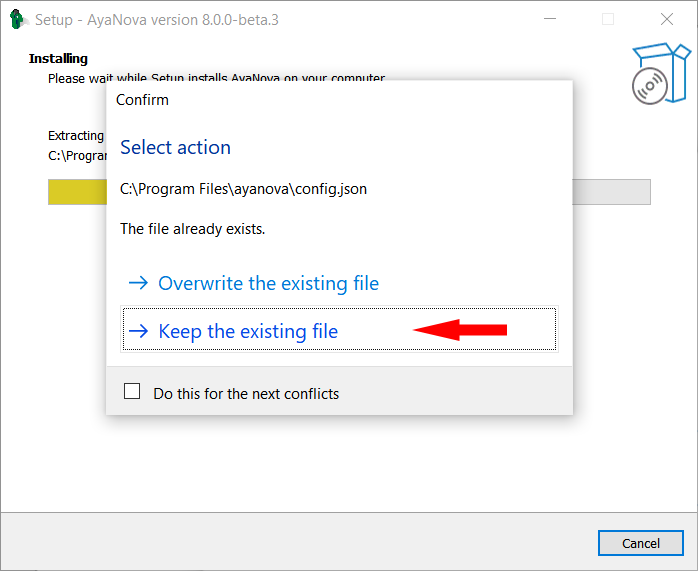
Select Keep the existing file.
If you select the overwrite option by accident you will need to re-edit the config.json file as you did during the initial installation once installation has completed before restarting the AyaNova server.
5. Start the AyaNova server
Open the AyaNova web app in your browser, after a short delay you should see the page refresh and the new version number be displayed at the bottom of the login form.